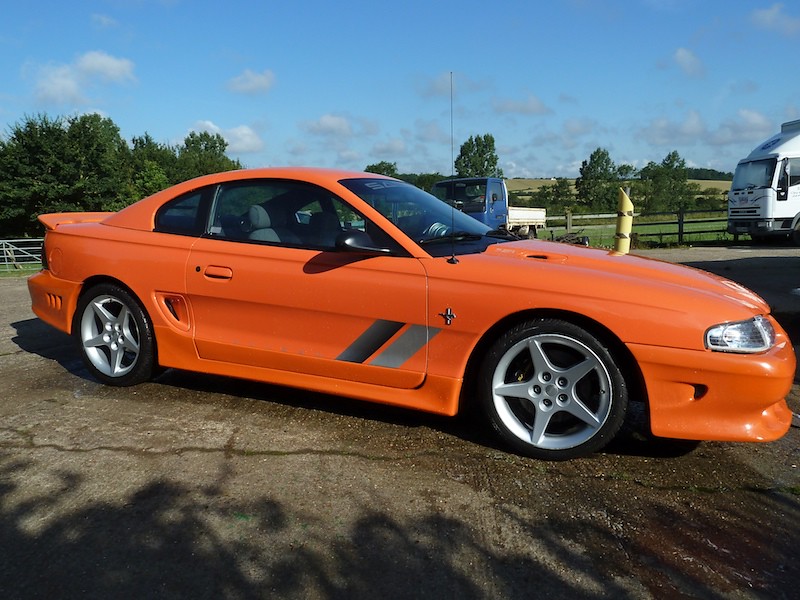
Well, where do I begin?.... My Saleen was chosen by Andy to receive a 'paint enhancement' detail a coupe of weeks ago, up at his workshop near Toddington.
My car was in pretty good condition, but, it did suffer with swirl marks from the bad car washing habits of the previous owners. I had tried to polish out these marks over the past 6 years but I could never get them 100% gone.
This is how the paint looked, it's been this way since I bought the car 6 years ago:
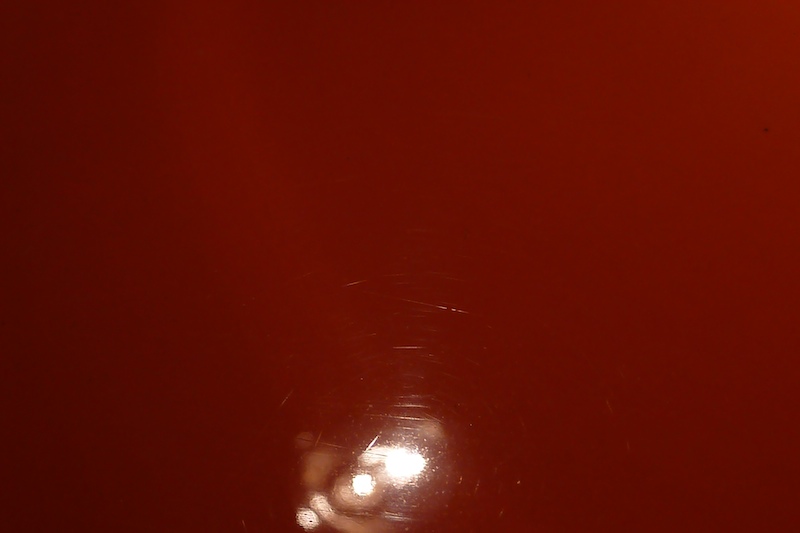
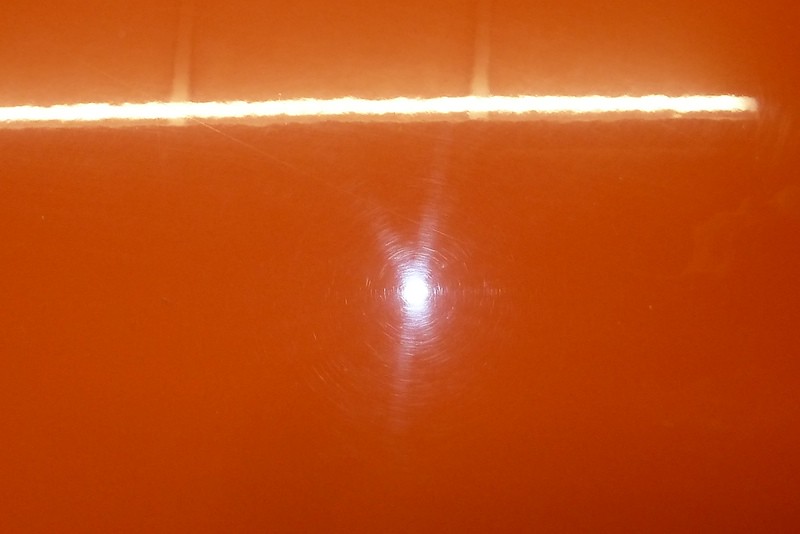
It's quite hard to pick up the scratches on a camera but when the car is in the sun they were REALLY visible.
When I got to Andy at 8am, he explained the whole process thoroughly and told me exactly what each step did and why things would happen in the order they would. I do have a FULL list of every single step Andy took but I wont write them all out here as there are almost 40 stages! I've picked out what I think are the most important bits, I will of course post up the whole list if people are interested.
OK, so Andy started at the wheels, spraying on a non acidic wheel cleaner and brushing the wheels inside and out as well as in the wheel nut recesses and inside the tyre bead. I could already tell from this attention to detail that it was going to be a top job! He then jet washed the wheels and arches followed by rinsing off the whole car to remove any debris that may damage the paint. This makes so much better sense than just attacking the car with a sponge if you think about it!
Here is what the car looked like after just a rinse so we've got a starting point for reference
Andy then used the first of many awesome detailing gadgets, a 'Snow Foam' lance. It covered the whole car in a foam which was left to sit for 5 or 10 minutes to break up any dirt. I thought the foam would just slide straight off but it's somehow so thick it defies gravity!
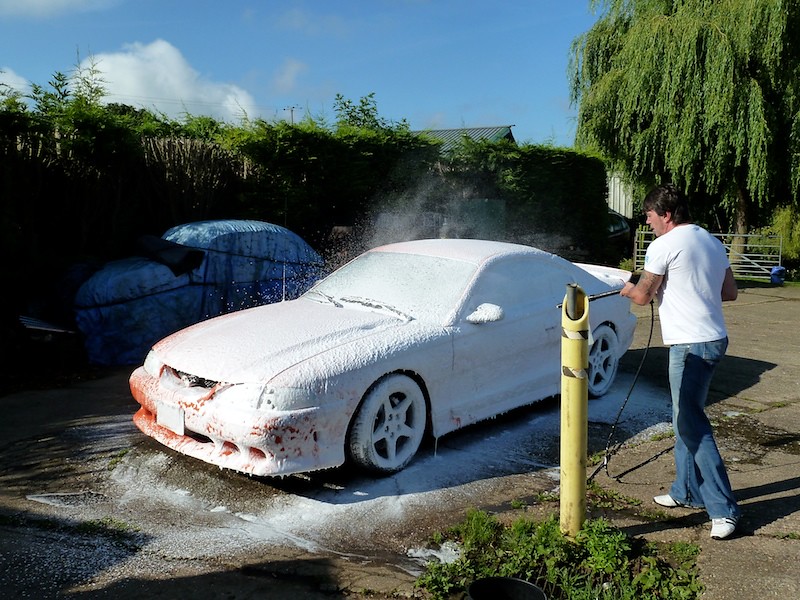
Awesome huh! While the snow foam was dwelling Andy went over all the shut lines, rubbers, badges etc with a small brush to clean the grain of the rubber and remove and old wax residue that may have been there.
The car was then washed using a 2 bucket method with a grit guard in each bucket to trap and loose particles and then rinsed off. To me the car looked pretty damn good already. Andy showed me how to feel the paint for imperfections and then proceeded to clay bar the car using Zaino clay and a lubricant. The car was then rinsed yet again and dried with microfiber drying towels. I asked Andy why he didn't use one of those big rubber squeegees to get rid of most of the water, but, as with the grit guards and the multiple rinsing stages, everything is carefully done to avoid scratching the car.
The car was then taken inside and all of the rubbers and badges were masked off, along with the wing mirrors, antenna base, number plate and door locks. The decals were checked and they were stuck firm. Apparently if they had been loose they would have been masked around too.
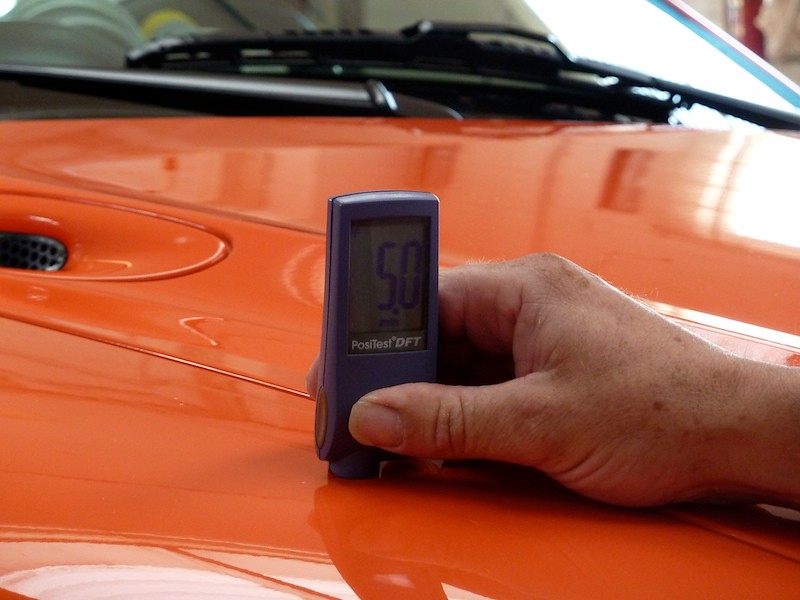
The paint thickness was then measured all over the car; the thickness varied from the boot lid to the doors, Andy needed to know exactly how much paint was there to work with. The Saleen had between 120 and 130 microns all round, anything below 80 microns is not really suitable for machine polishing so I was good to go!
Here's the paint thickness measuring jobbie
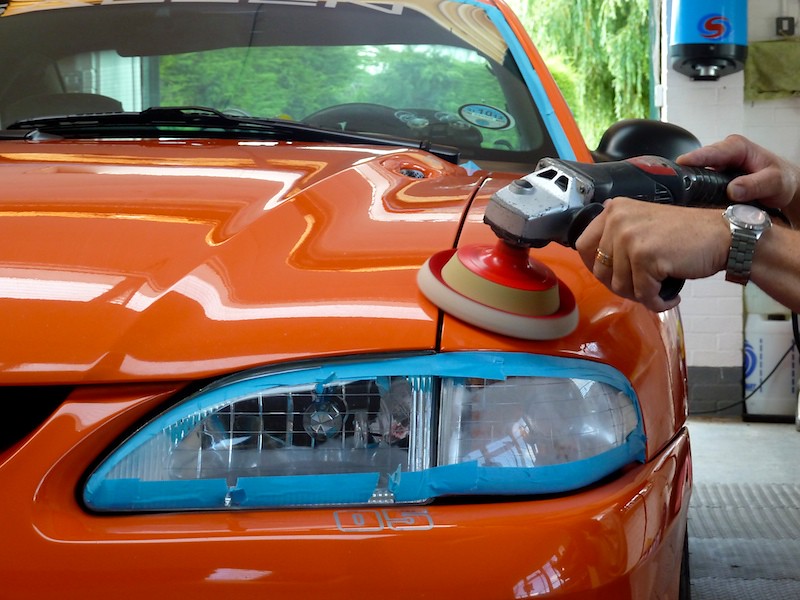
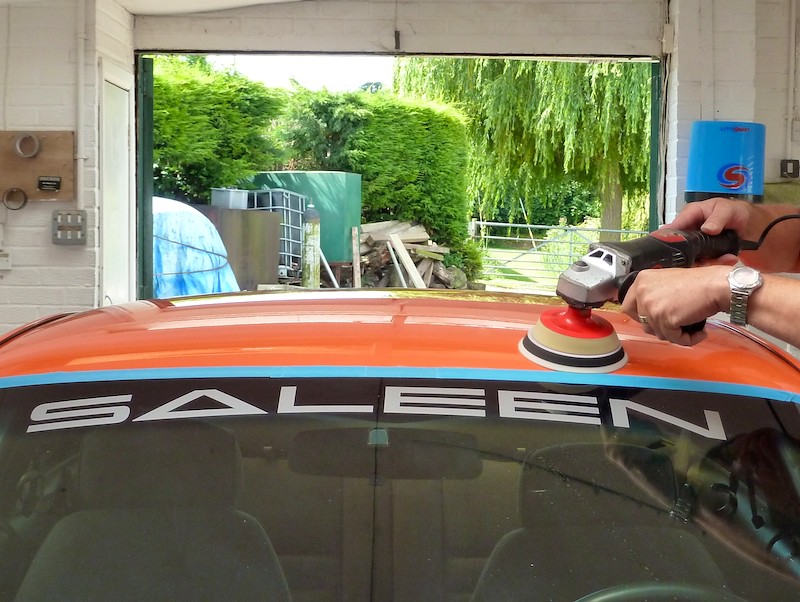
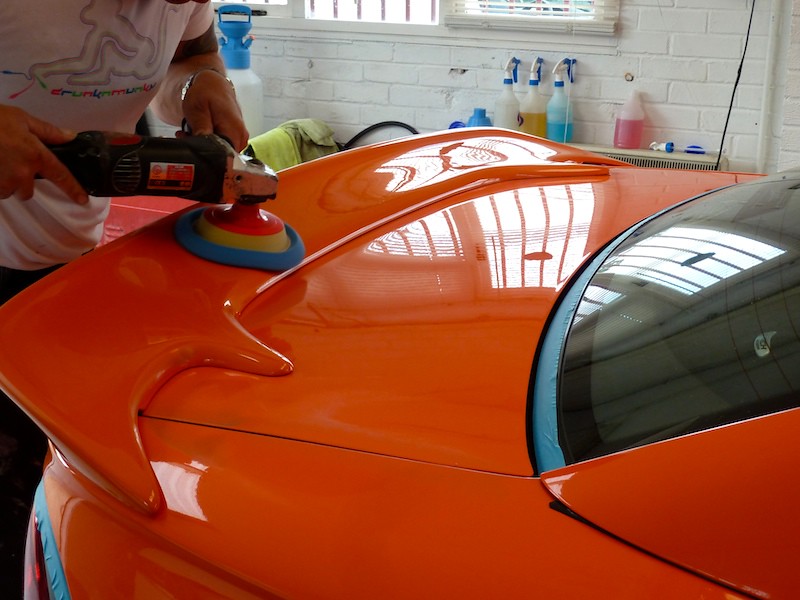
Based on 25 odd years of experience Andy then selected a polishing compound and head to use as a starting point. As I was about to find out there are 100's of combinations of head and compound which get different results on different paints. With each one though the process was the same; the pad was primed by hand, working the compound in, the head was then smeared over the panel and the polisher started on a very slow speed to build up heat and break down the compound. Once at the desired level, Andy then started working the panel. He worked his way around the car using a combination of 3M, Scholl's Concept and Menzerna compounds and heads. While he was working he constantly checked reflections, gloss level and most importantly, constantly checked that the head was still wet with compound. If the head runs dry it can over heat the paint and cause damage. For tricky areas a small head was needed which allowed the polisher to get right inside the ducts.
Here are a couple of pics of the polisher in action