I started Sunday revved up and ready to go. The intention was to get the outer wheelhouse patch welded on so that I could apply the first set of welds to the outer rocker. As it transpired, things were more complicated than I expected and the work took a slightly different route.
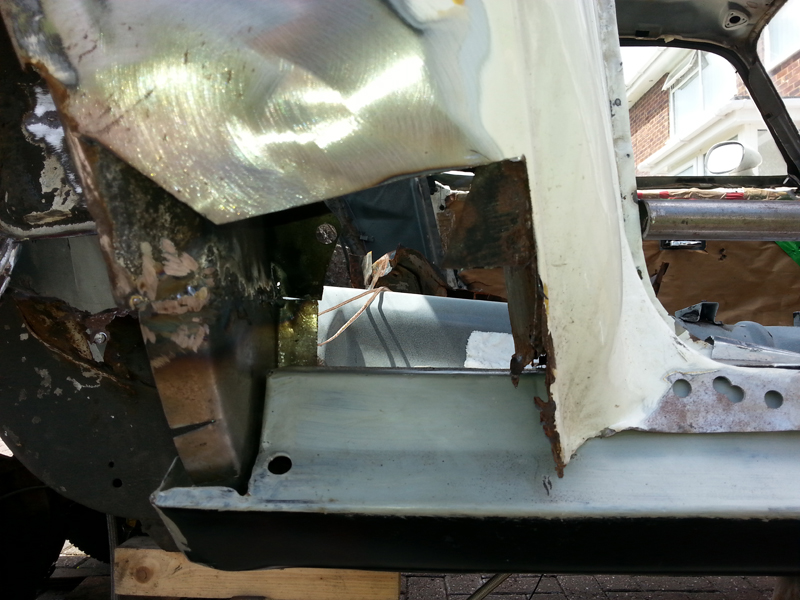
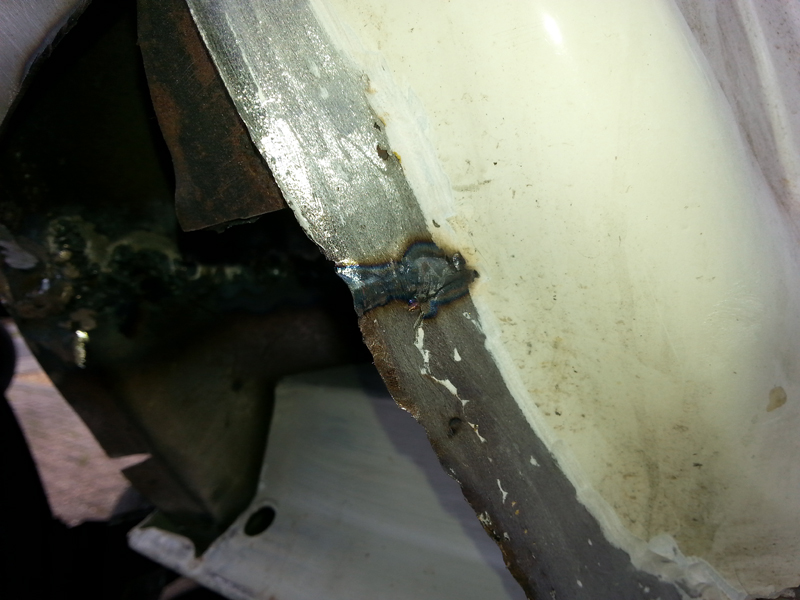
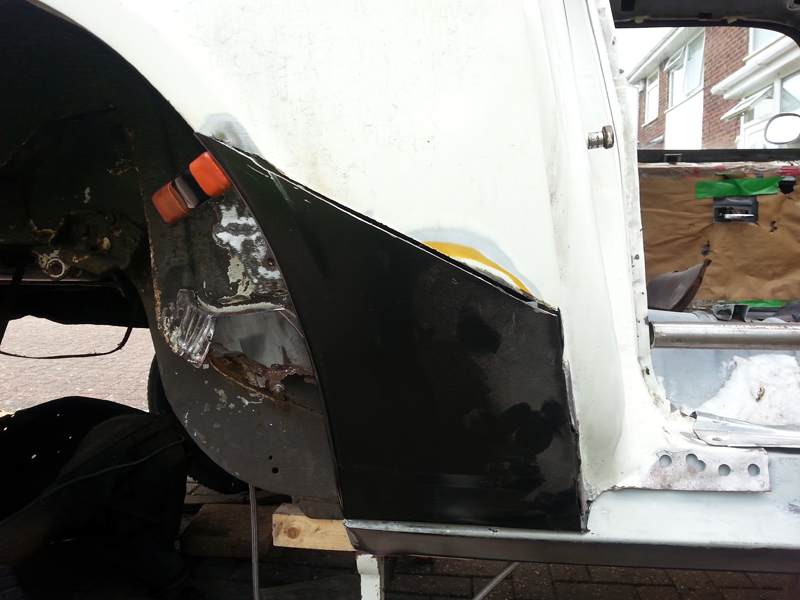
Welding the outer wheelhouse patch was trickier than I thought it would be. This was the first time I'd welded with a decent C02/Argon mix (used pure CO2 until now) and it was hotter than I was used to, and I spent a lot of time chasing blow throughs on the old metal. The more I did the better I got, but I would definitely have been better of replacing the old metal here too if I had the chance. Anyway, it didn't take too long to get this on and the welds ground back. I didn't bother to spend too much time making it look pretty, as the inner face will be hidden, and the outer face covered with some suitable underbody coating at a later stage.
I wasn't sure at this stage whether to press on and weld the outer rocker on, or if I would be better off looking at the missing door jamb brace. Bearing in mind that I wouldn't be able to put weld the rocker until after I had painted at least the inner face of the new metal, I figured I might as well tackle the brace now, whilst I still had the opportunity to remove the rocker if needed. As it happened, I didn't need to remove it for that, but I did further down the line.
The brace is a bit of guess work, as the existing one was almost totally gone. Having studied the remains and as many pictures as I could find (none of which showed me exactly what I needed to see, but the combination got me close enough) I hatched a plan that would see a decent brace lap welded over the original, giving the right support, if not the originality.
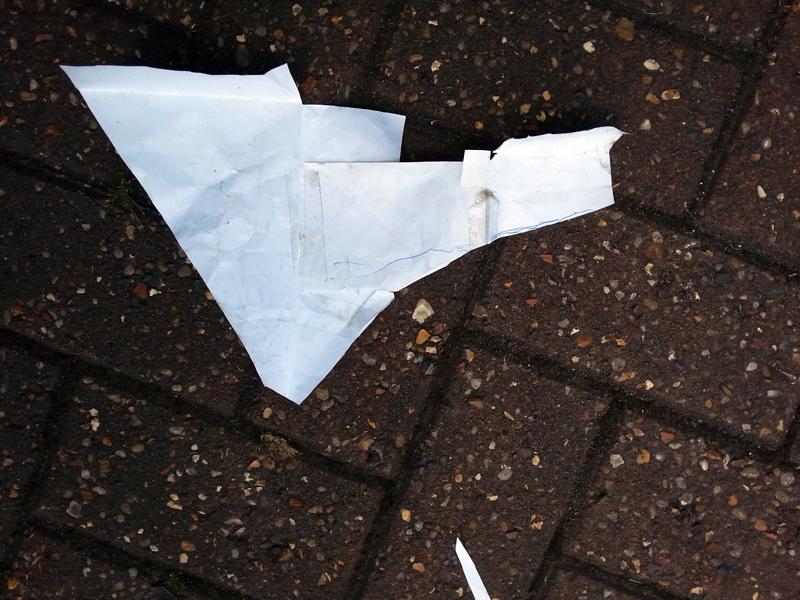
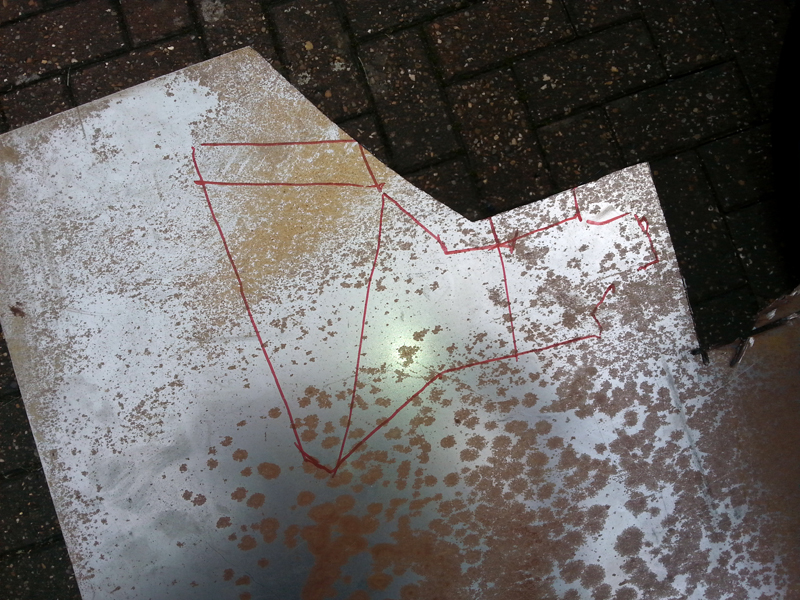
First up was a paper template, easy to fold and shape around the various corners.
This unfolded to this rough shape, which was then transferred to cardboard, which being stiffer would give me a much more accurate shape before transerring to metal.
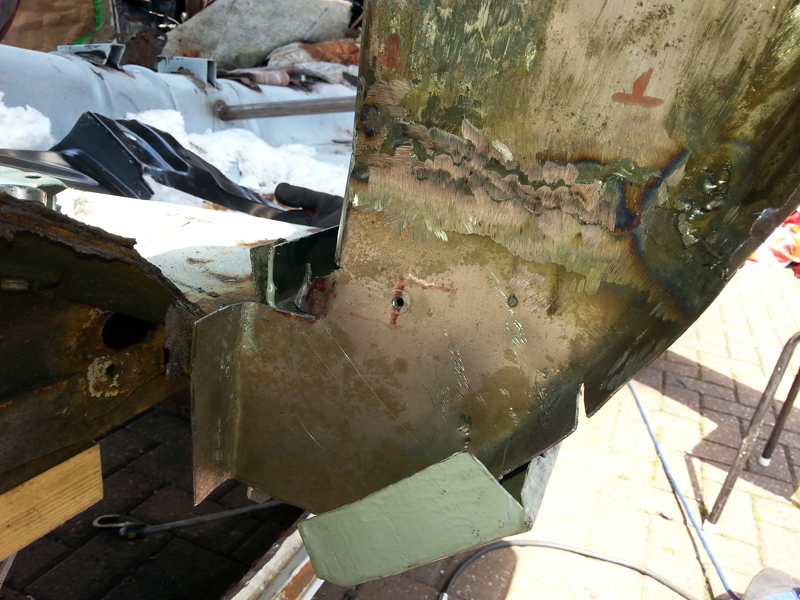
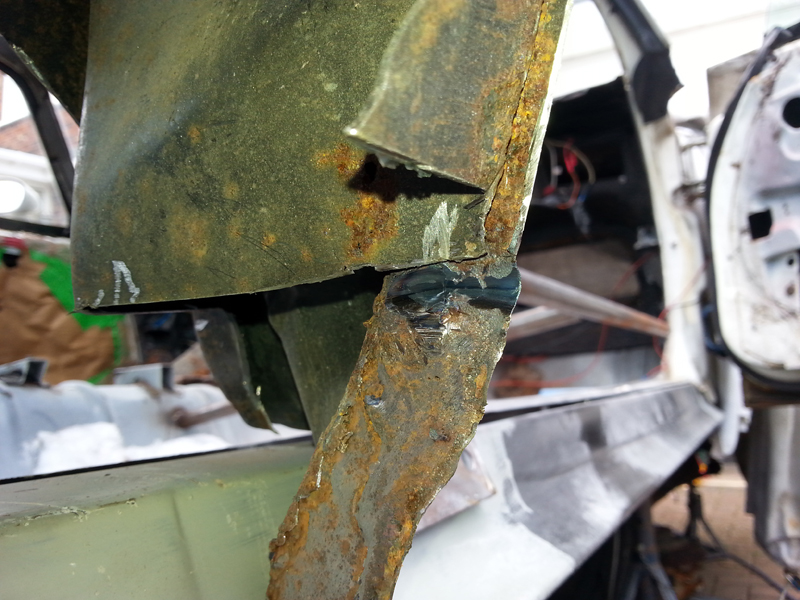
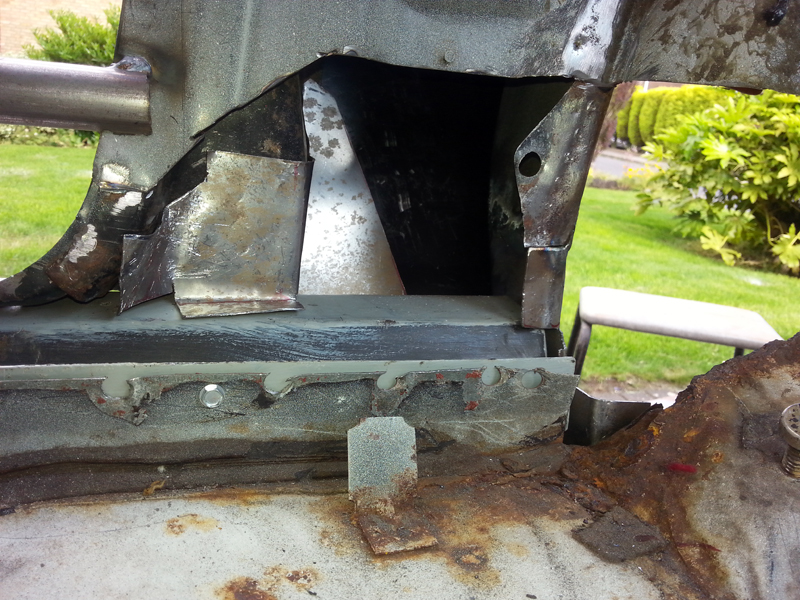
Realising I would need to remove some of the existing brace to get rid of the rusty bits, I had to open up the hole I had made in the quarter to get better access. Even with the bigger hole I had to use a couple of different cutting tools to get into the tight spaces.
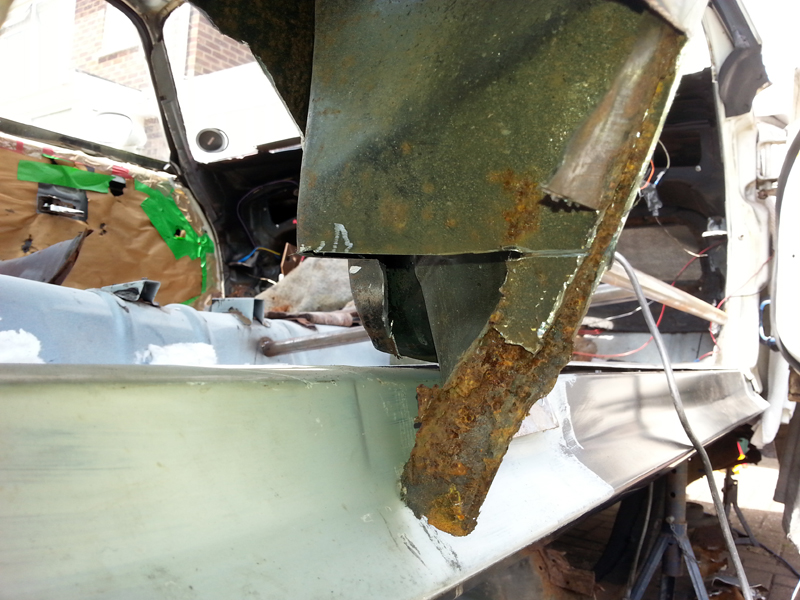
I went a bit too far at one point and almost went through the metal. It's a bit thin there now and will cause me some issues when I get to welding in that area later.
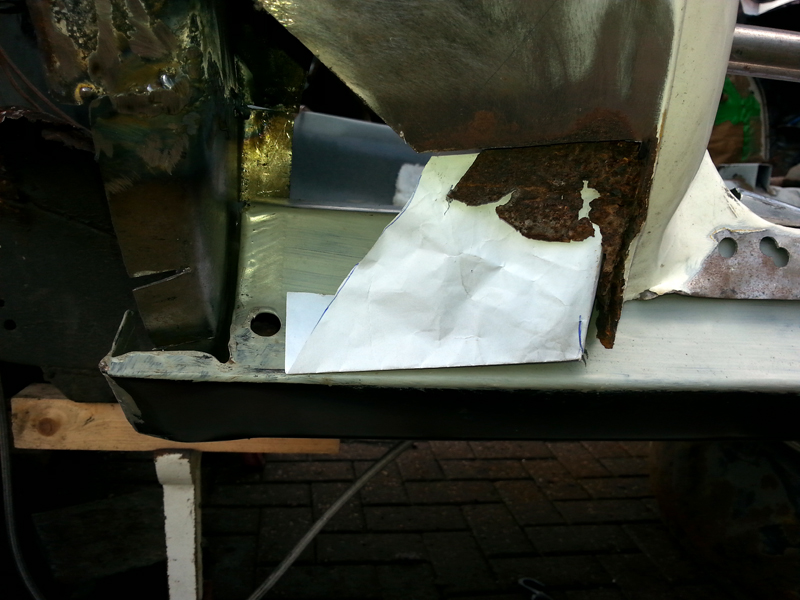
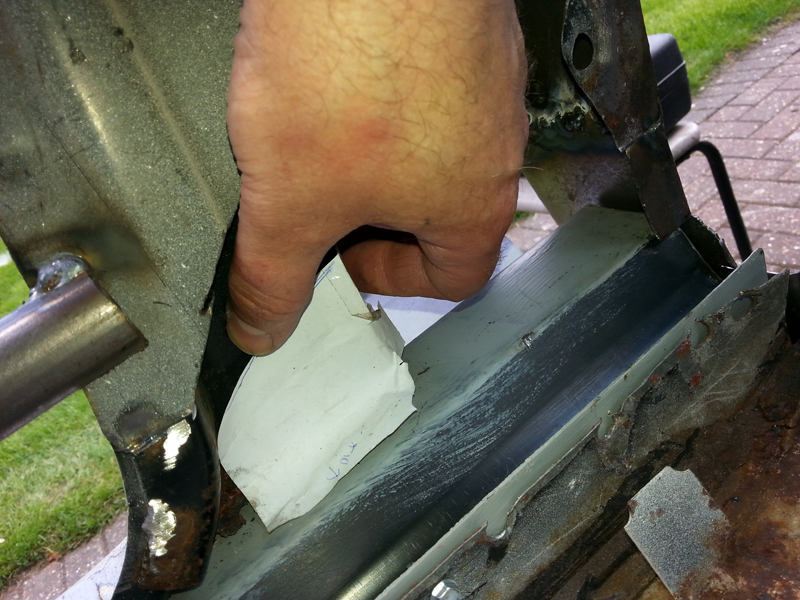
I was now able to do a proper fit with the cardboard template.
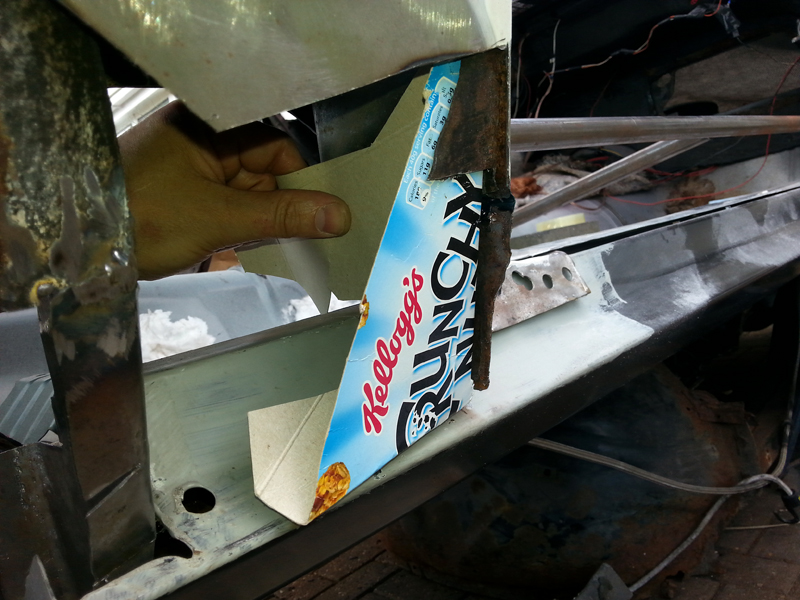
It was at this point that I remembered reading about this brace and how it ties in with the quarter and the rocker. It was important that this patch was long enough to reach the rocker, but left enough space to slot the bottom of the quater patch in between them. At this point it became clear that I needed to incorporate the quarter patch properly into the plans, to ensure that it all fitted together properly.
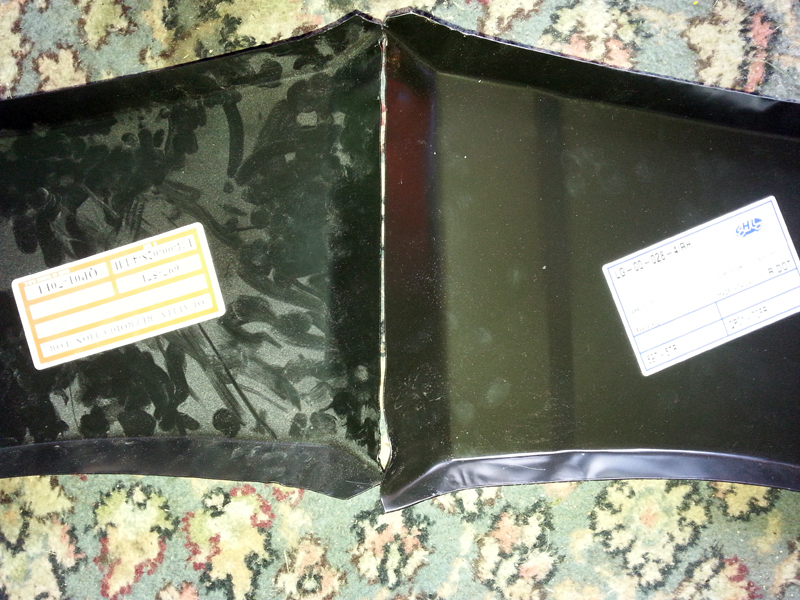
The patch panel I have is shockingly bad, but from what I have read the same as all the others. It's about 1/2 too wide, as you can see here comparing the passenger and drivers sides.
This meant that I would need to cut it both horizontally and vertically in some way to make it fit. At this stage, I'm going to try and re-use the front part of the panel on the car, where it folds around to meet the door jamb, and weld the patch in along the edge. Not sure how well this will go, so I have kept the bit that has been cut off the patch, as I think I may need it later.
Now that I needed to properly trial fit the quarter patch, I extended the cut (again) up the left hand edge to get rid of the rust on the outer seam. I then cut down at an angle to join the existing cut.
Realising that such a shape would be difficult to match properly to the patch, I cut yet again, but this time had the patch clamped over the top and cut through both patch and car panel together, ensuring they were the same shape.
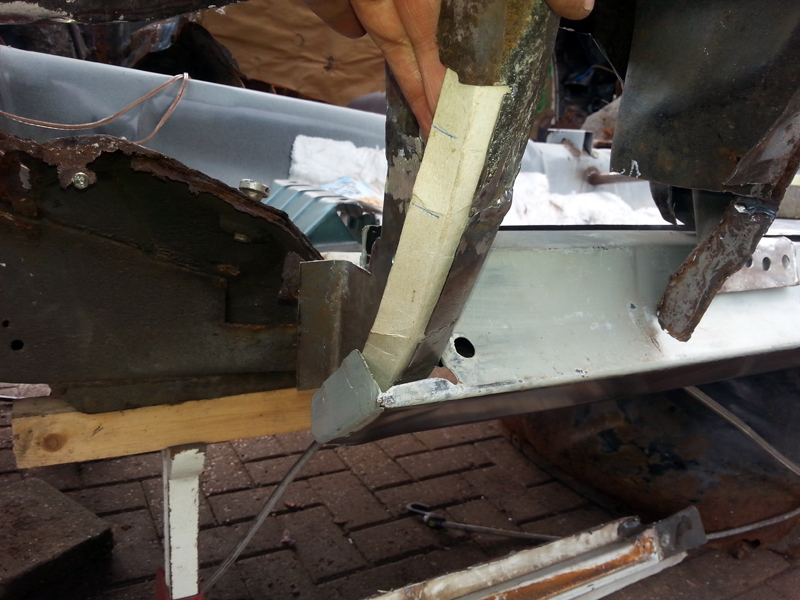
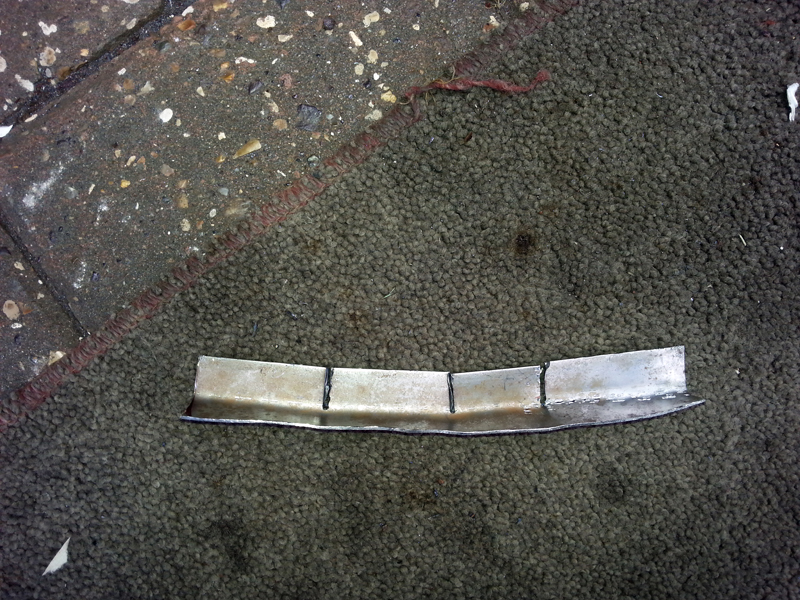
With that worked out, it was back to the brace, now outlined and ready for cutting from the sheet steel.
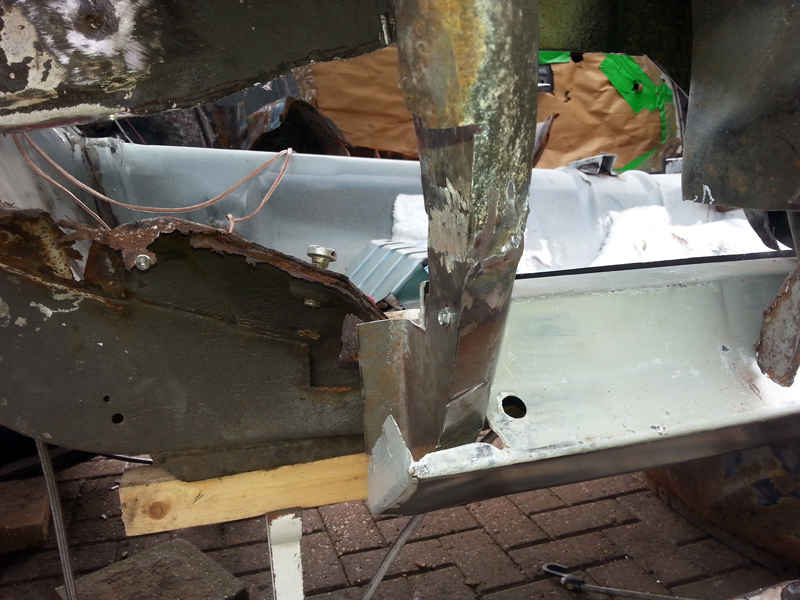
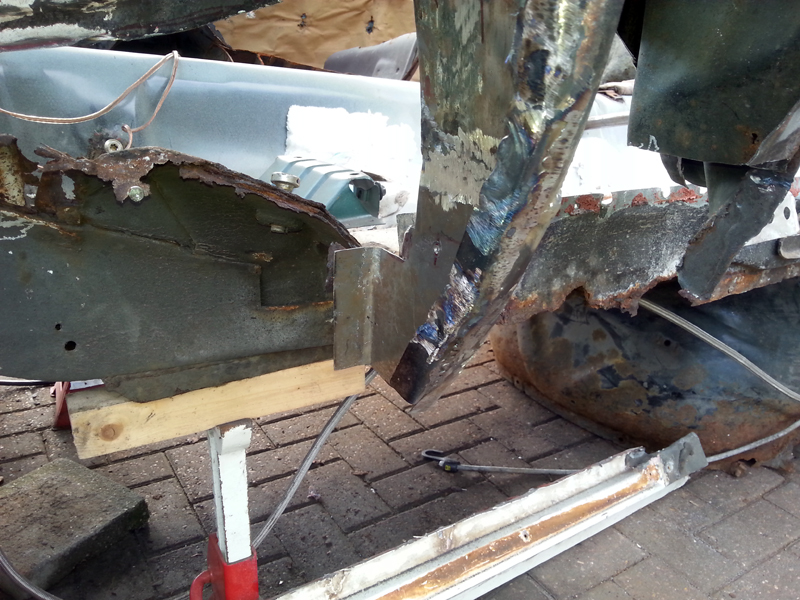
Careful cutting and bending, followed by more bending, and more bending (I lost track of how many times I trekked backwards and forwards from the vice until I was happy with the final shape) it was done. The lower edge of the brace mates perfectly with the bottom of the quater patch, which mates perfectly with the outer rocker. This isn't the best picture to show it, but I will get more another time.
When it comes to final fitting, I will drill two holes down through the brace and quarter together, then spot weld then to the rocker, coming in with the welder from the hole on the inside of the car.
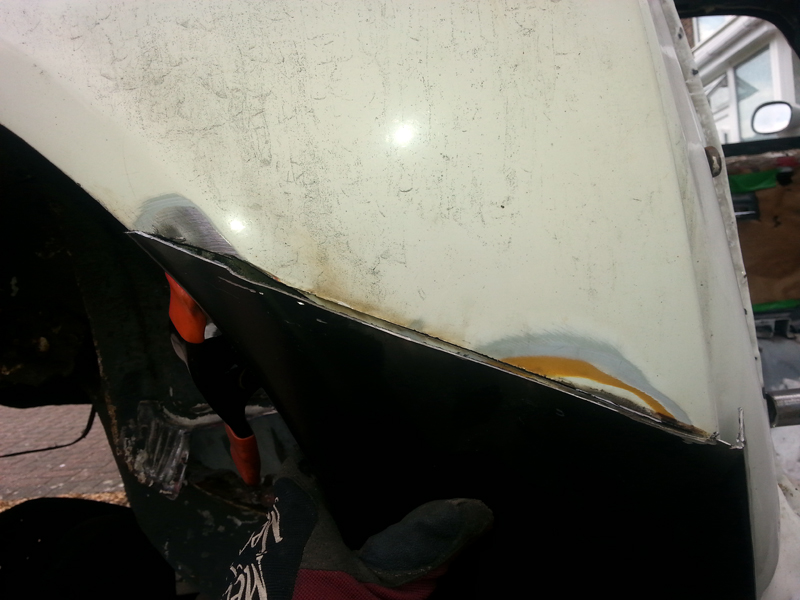
The next piece of unexpected work was to complete the outer wheelhouse patch, where it joins with the quarter patch. All of the work I had done so far needed painting before going any further, so it was clear I needed to finish this piece now.
I started by cutting away the worst of the rust, and then made another cardboard template.
This was then transferred to the sheet metal, cut and bent to shape.
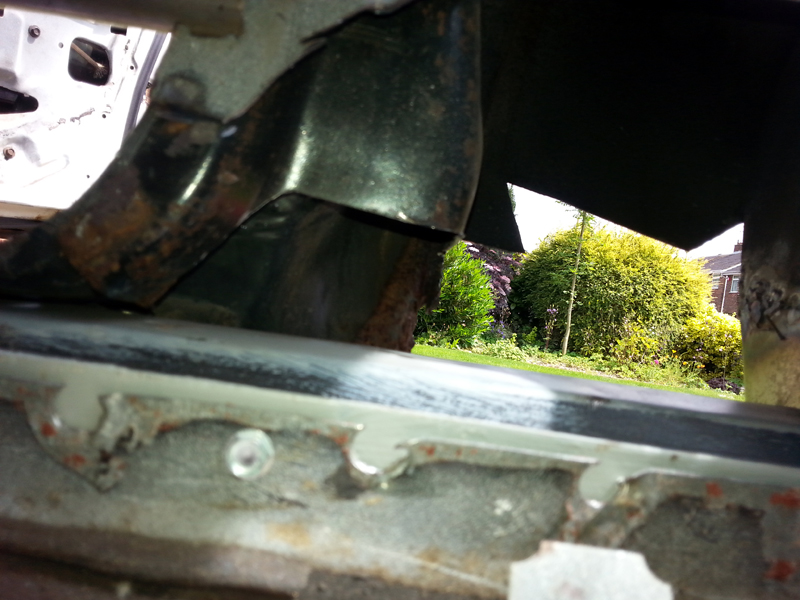
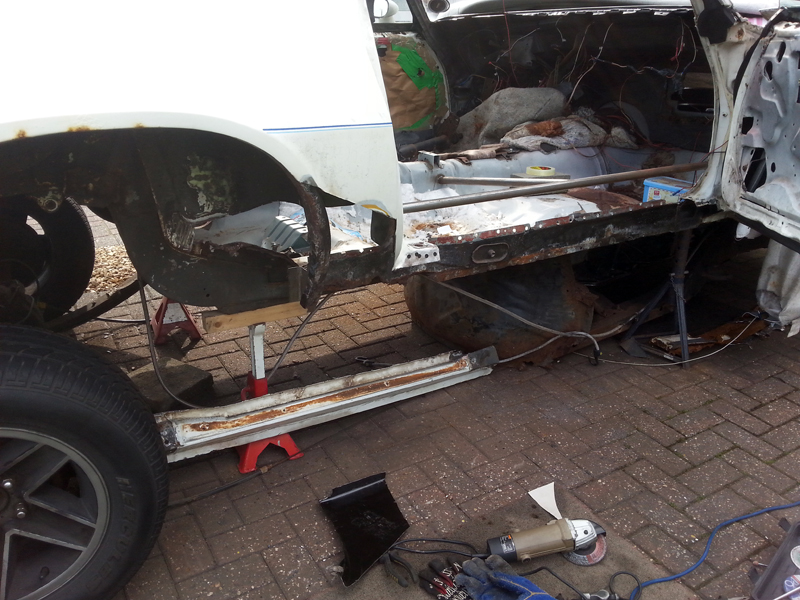
This was then welded into place and ground back. Access to the lower few inches was impeded by the outer rocker, so this had to be unscrewed and removed. While it's off I'll be able to touch up some of the thinner areas of the paint and spots that have been scratched.
At the end of the day, with the outer rocker gone again, huge holes cut in the quarter and inner wheelhouse, it feels like I've gone backwards, despite the massive amount of work I'd done. At least I know that after these bits are painted, it won't take long to get them in place and welded in, and I can then move onto the inner rocker and floor pan.
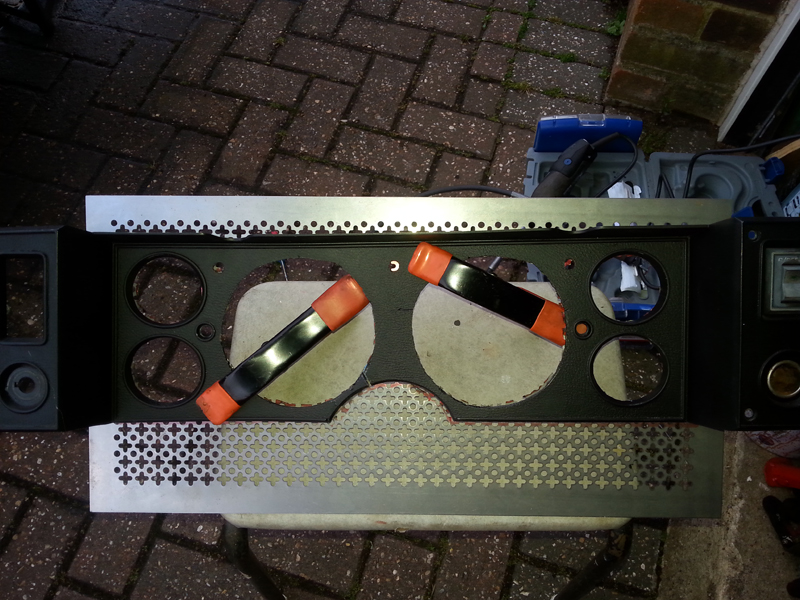
Whilst packing up, and with the tools already out, I spent a short time back on the gauges re-inforcement panel. The holes were now cut out and a trial fit to the bezel was possible.
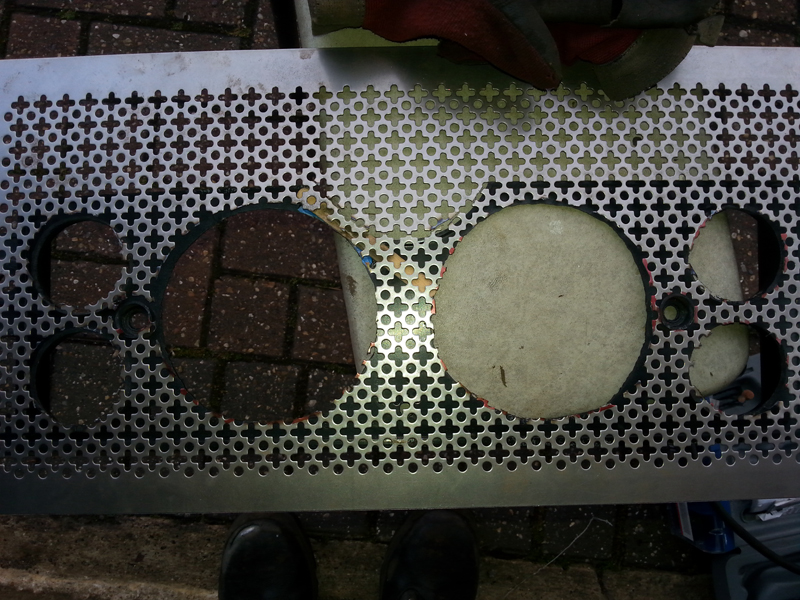
However, when I moved onto cutting the outer edges, it didn't go to plan.
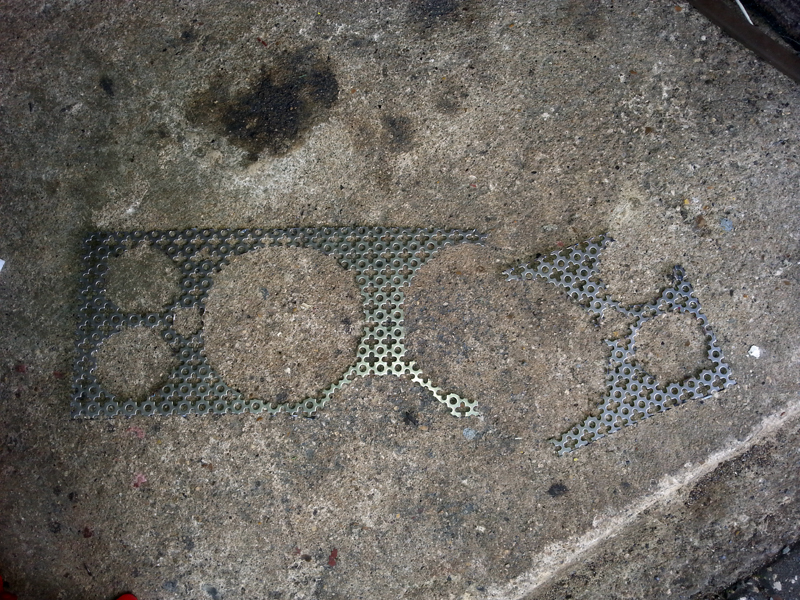
I hadn't planned on it falling apart due to so little metal at the thin parts (and I've lost one corner - not sure how that happened) I couldn't be bothered to try and sort it now, but will have to have a proper look another time.


