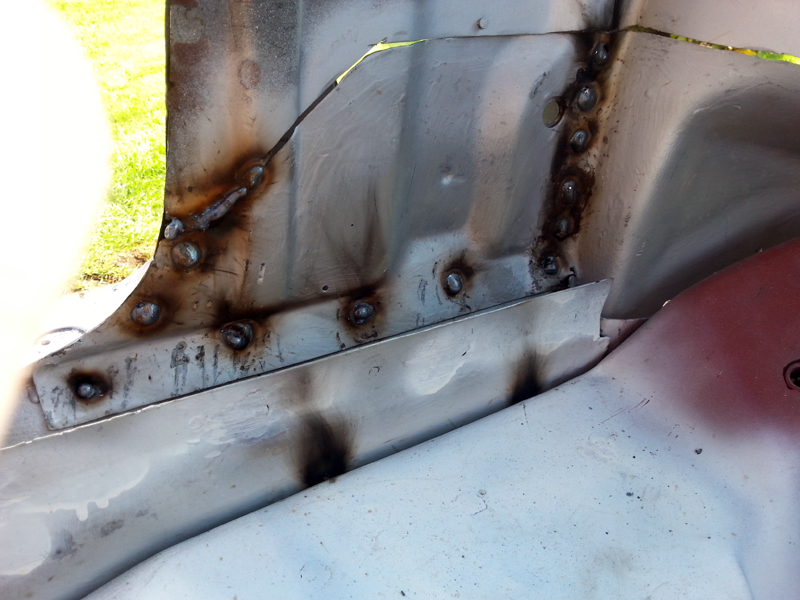
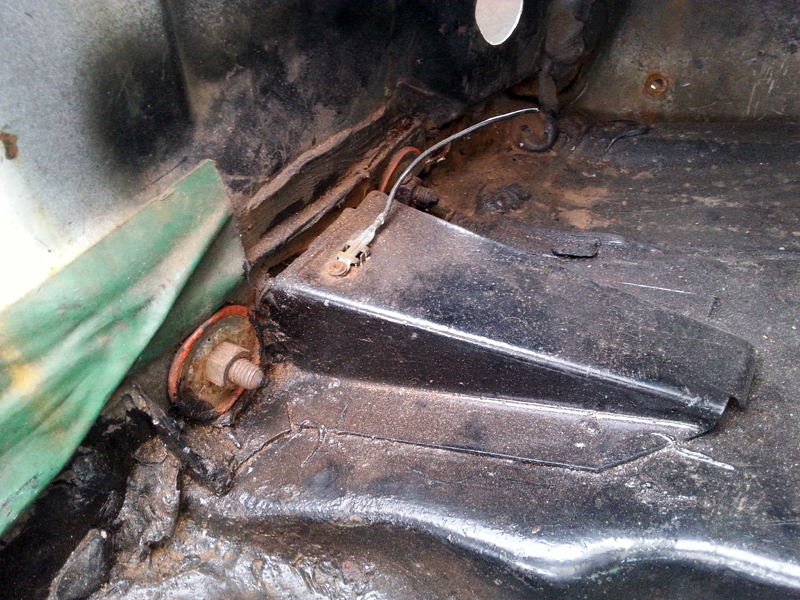
The next morning I set about finishing the inner wheelhouse. The patch was all prep'd and ready to go.
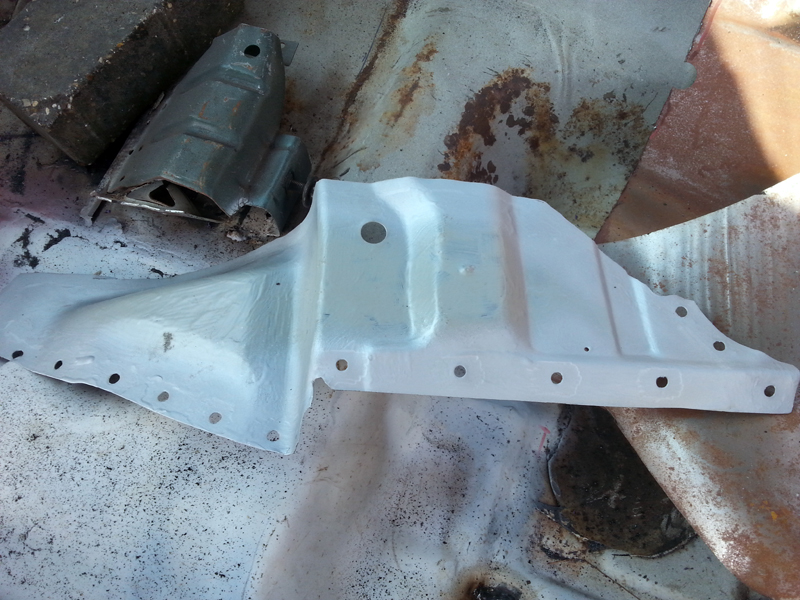
Or so I thought. Whilst I was getting it lined up, I spotted that I had missed a line of holes where it joins the outer wheel house. Thankfully I saw this and was able to sort it before it was welded into the car.
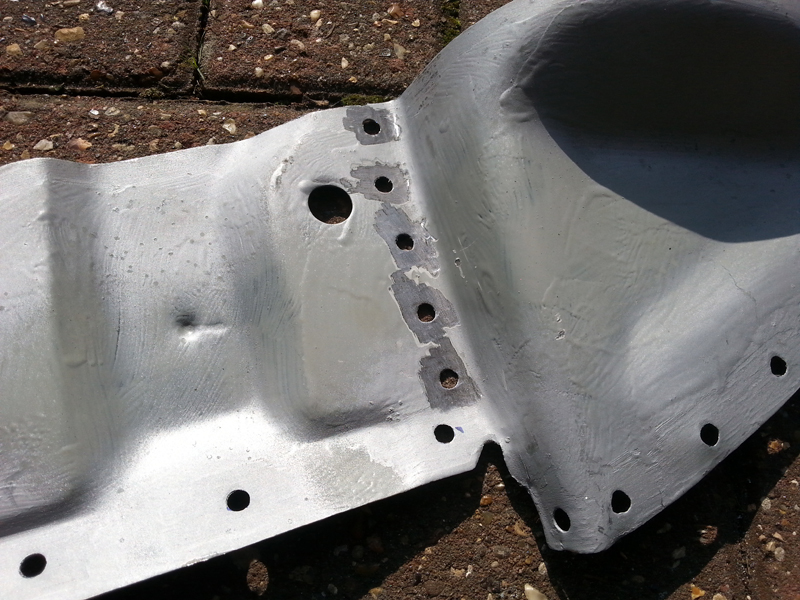
A quick spray of weldthrough primer around the new holes and on the car and I was ready to go again.
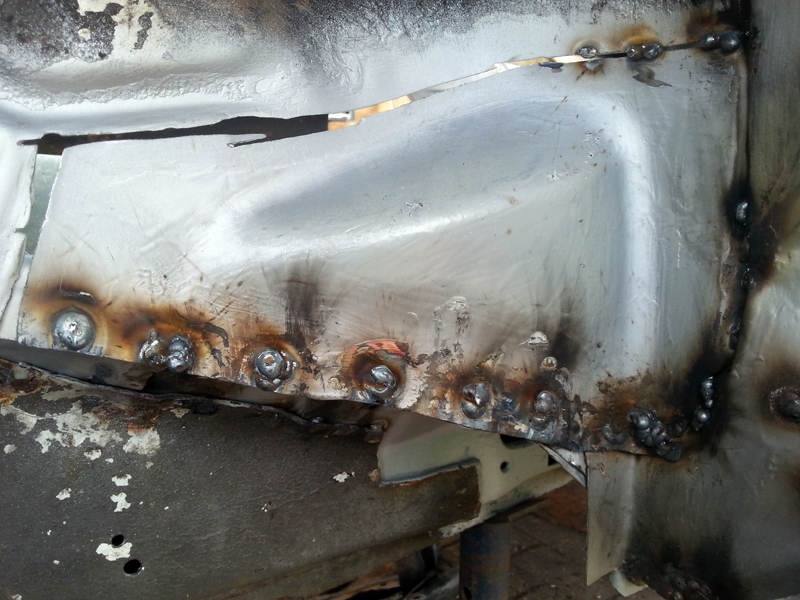
As is becoming customary, I had a gap that was too big to be welded. I really need to cut my patches a bit bigger, and only trim them at the last minute. As before, a donor piece was found and used to plug the hole.
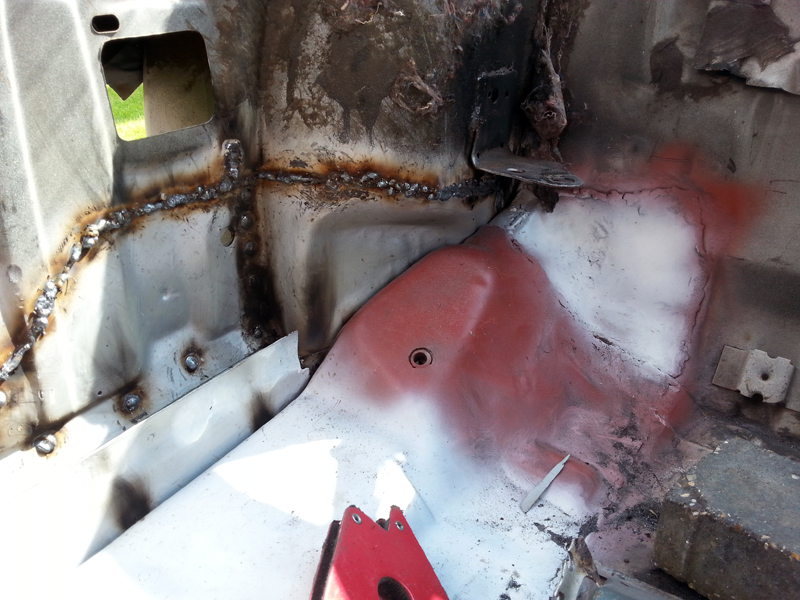
For the first time in months, the passenger floor is complete! (Apart from grinding/cleaning and painting) Time for lunch...
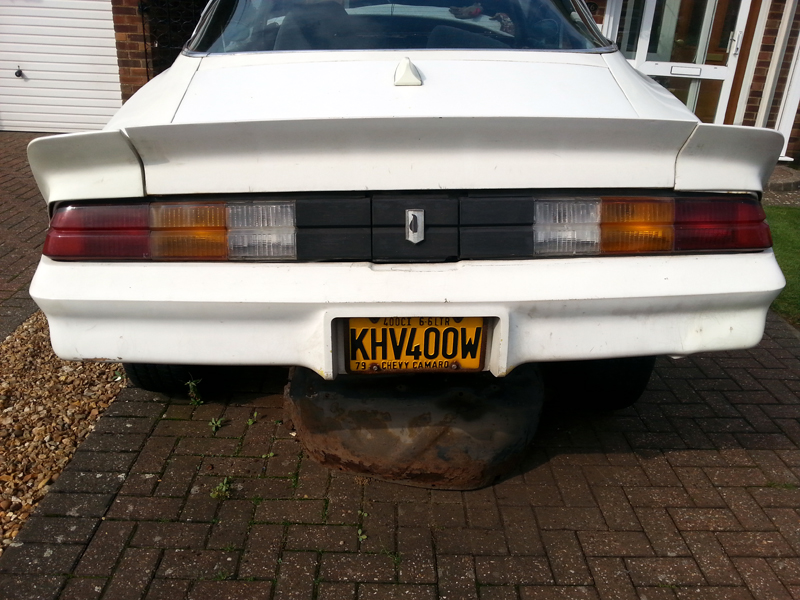
After a short break it was back to the grindstone. I fancied a change of scenery, so moved to the rear of the car to attack the rear panel and get it repaired/strengthened before having a go at the rear frame rail.
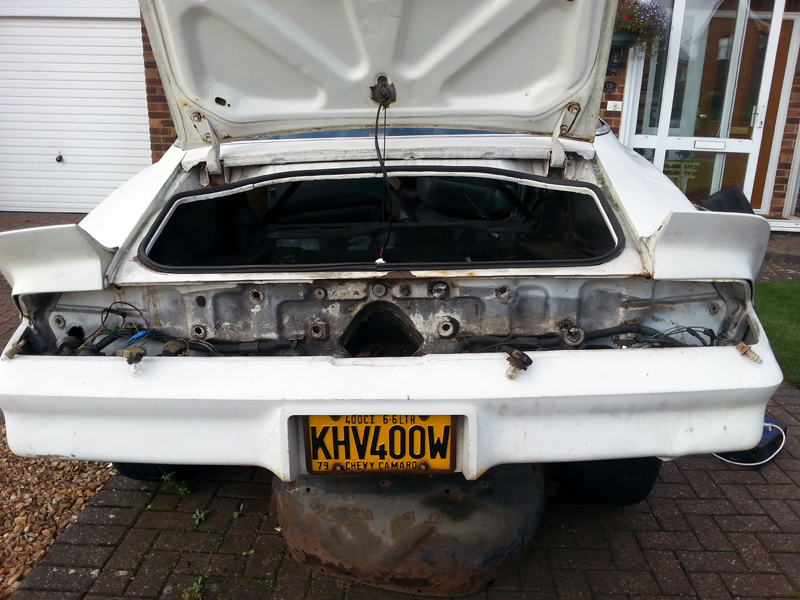
Start point - a fully assembled tail.
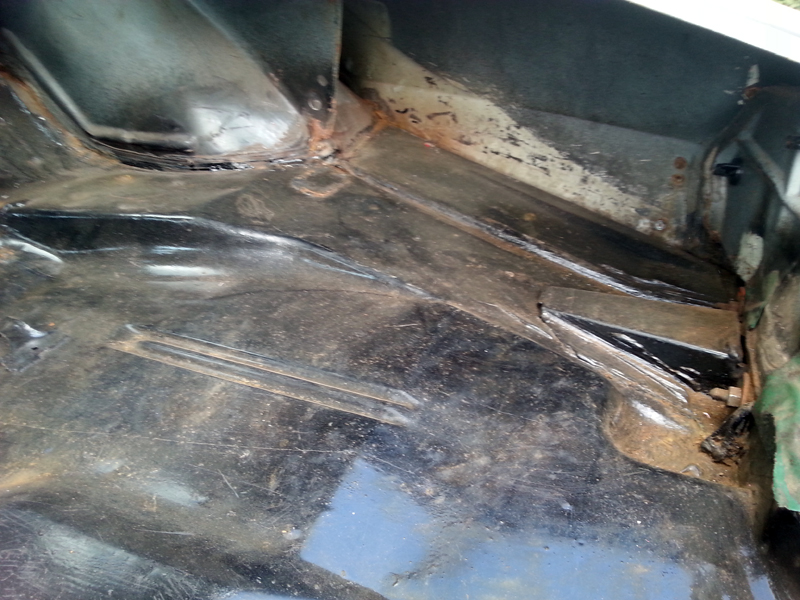
I'd done some repairs to the trunk floor a few years ago, and these appear to be holding up well.
It seems a real shame, but I think I am going to have to cut sections out to enable a proper repair on the rail, but I will do a proper assessment on that when I get to that stage.
Back to the job in hand, first job is get the tail lights out.
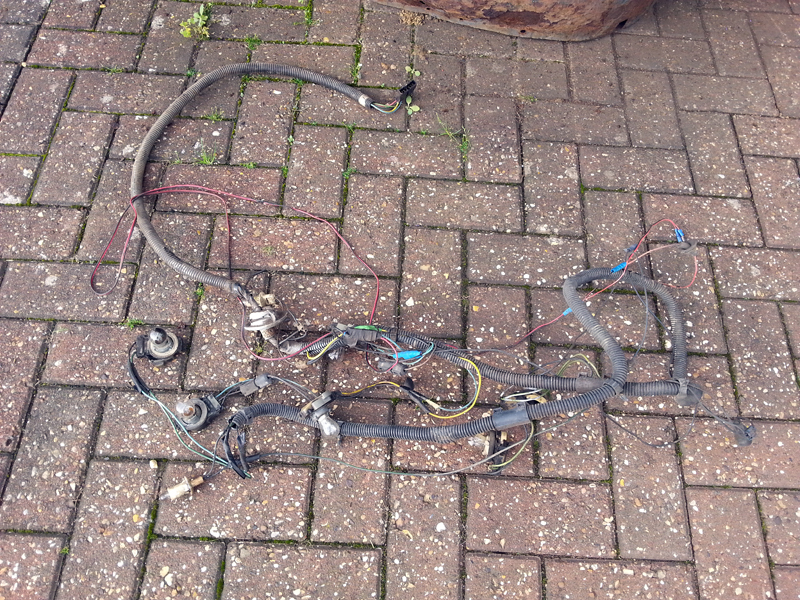
With cutting and welding on the cards, it's best to get the wiring harness off and well out of the way, rather than trying to work around it. First locate the connector, deep inside the trunk, and then the ground point.
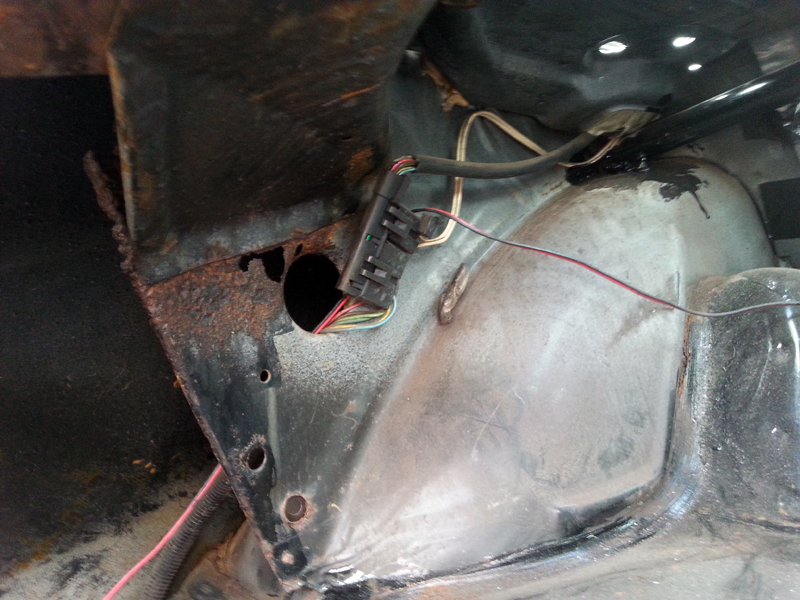
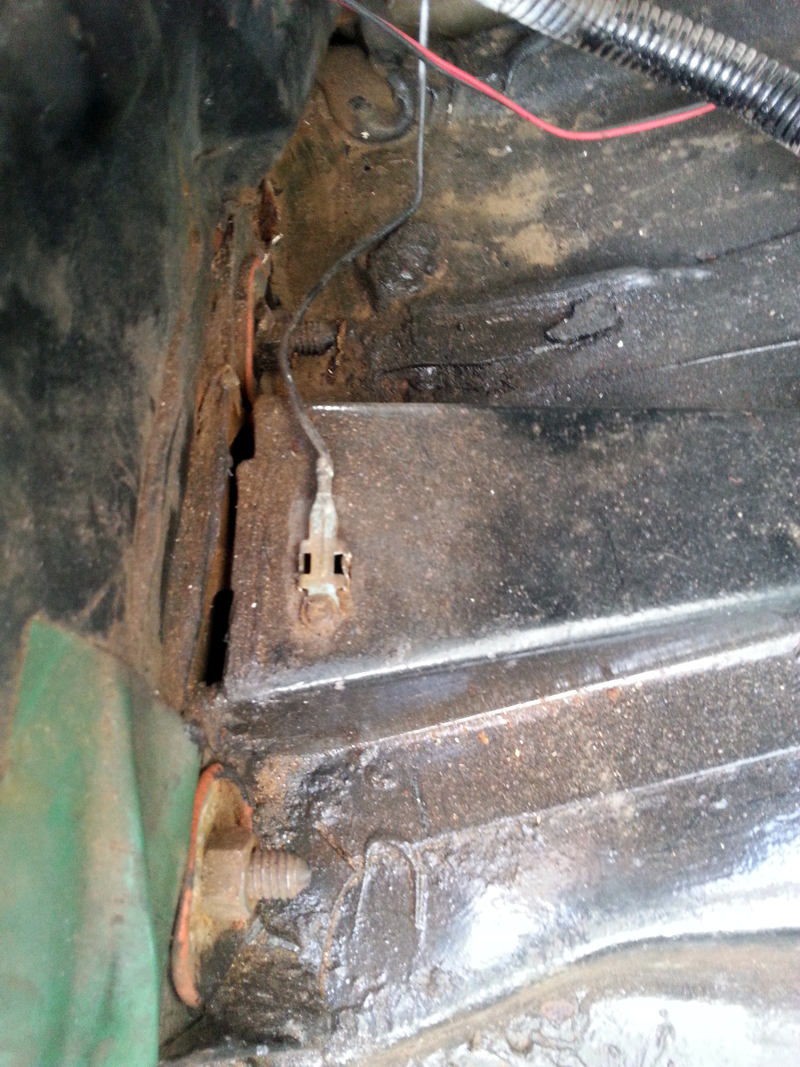
The ground screw was seized, so I cut the wire, and will sort if properly on re-assembly. With a bit of fiddling with the clips, it all came out OK.
Next is removing the bumper and cover (attached). This involves removing the trim
Two nuts on the inside of the trunk and one screw on the lower end on the outside and these wiggle out.
Considering these are one of the weak parts on these cars, mine seem to be holding up well and won't need much attention before refitting.
There are 2 screws each side of the bumper cover, but looking at the fastener type, I don't think these were original.
Finally is the bumper itself, 8 nuts, 4 each side, 4 in the trunk and 4 underneath.
Of these, 3 of the coach bolts started spinning, so I had to weld them to the bumper in order to get the nuts off. It took over half an hour for these 8 nuts in all, but finally, the bumper was lifted off.
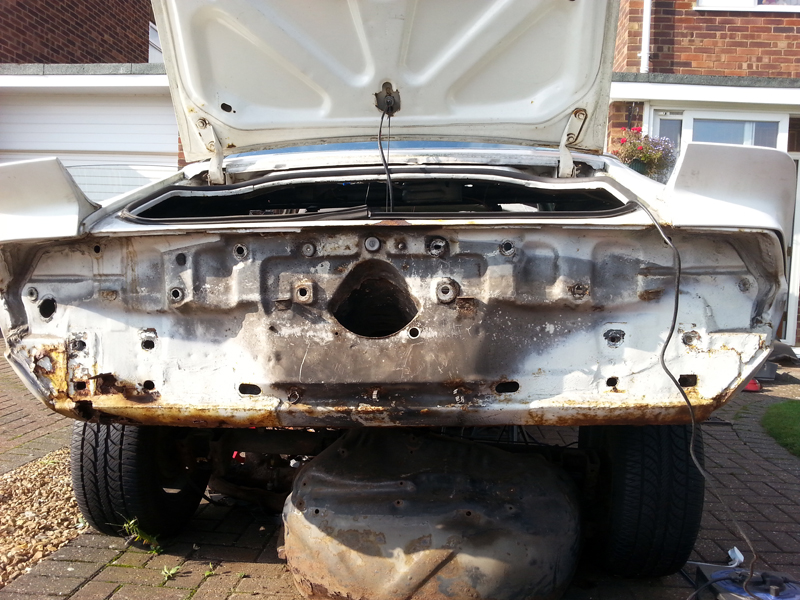
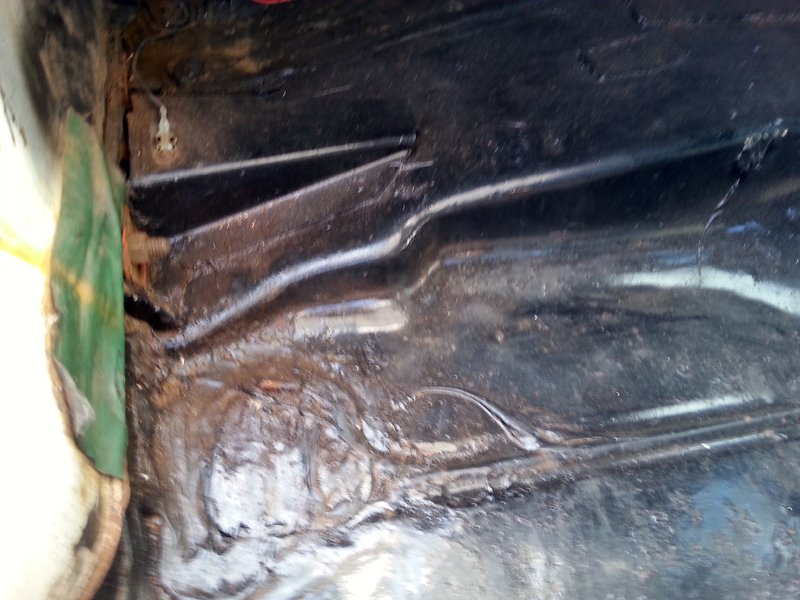
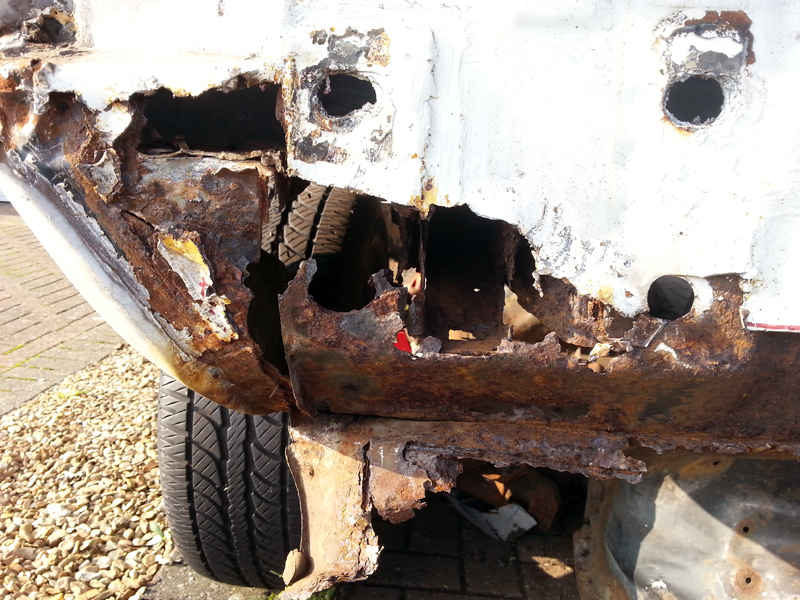
Initial inspection was as I expected. A smattering of rust, particularly on the lower edge, and the left side being by far the worst.
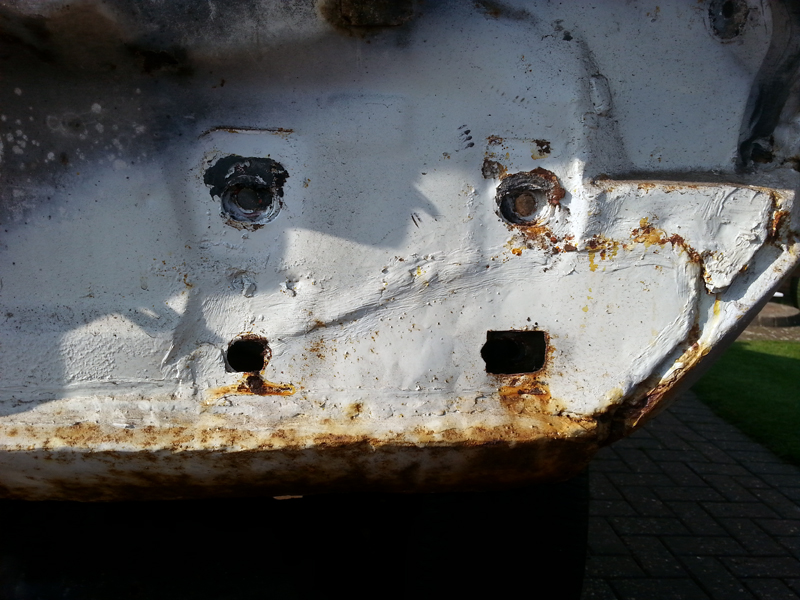
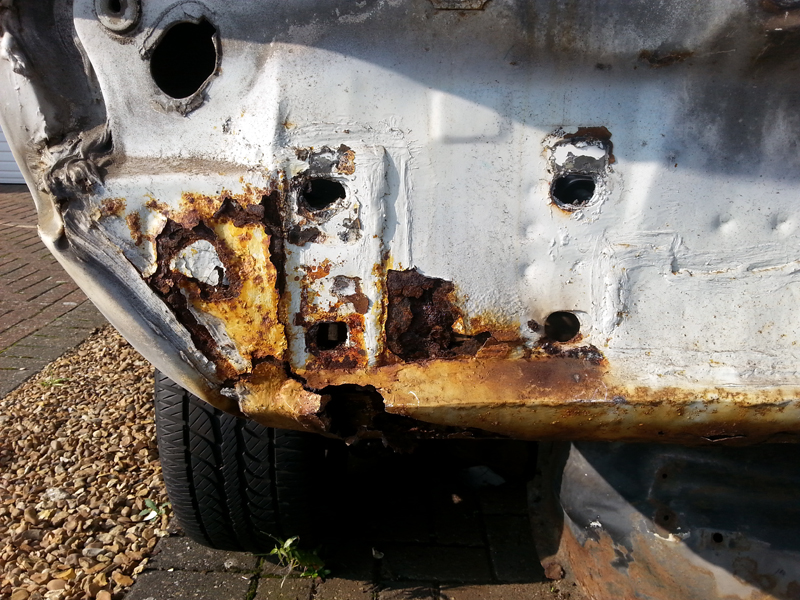
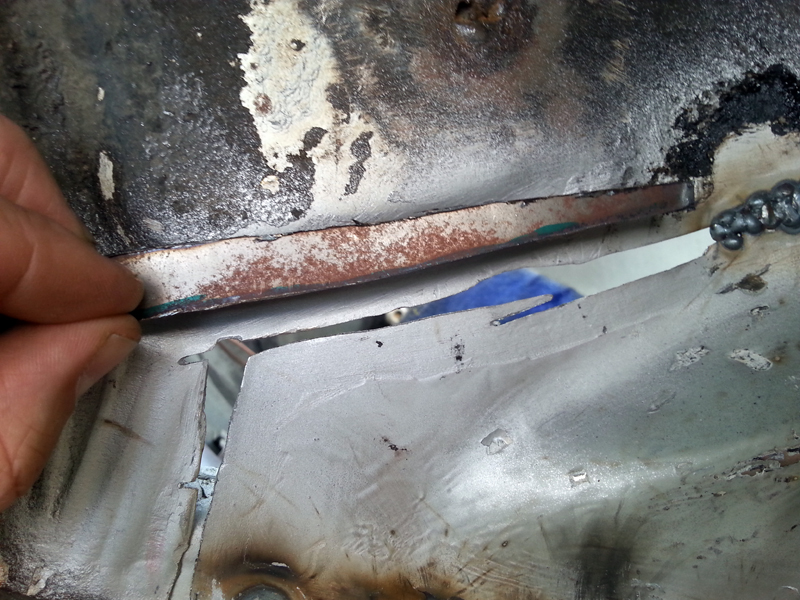
Before going any further, I held up the repair panel and marked up where it would extend to. Unfortunately, it wasn't big enough to cover the whole area of damage, so some customer pieces will be needed.
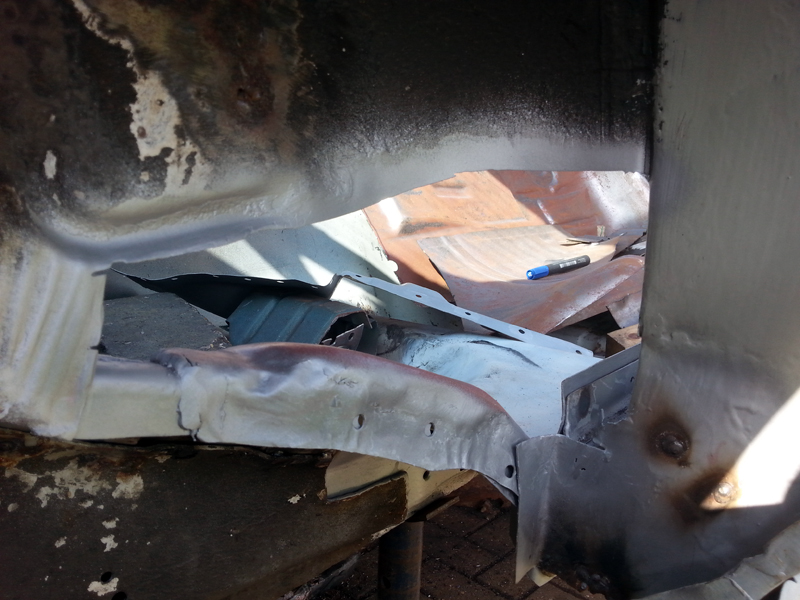
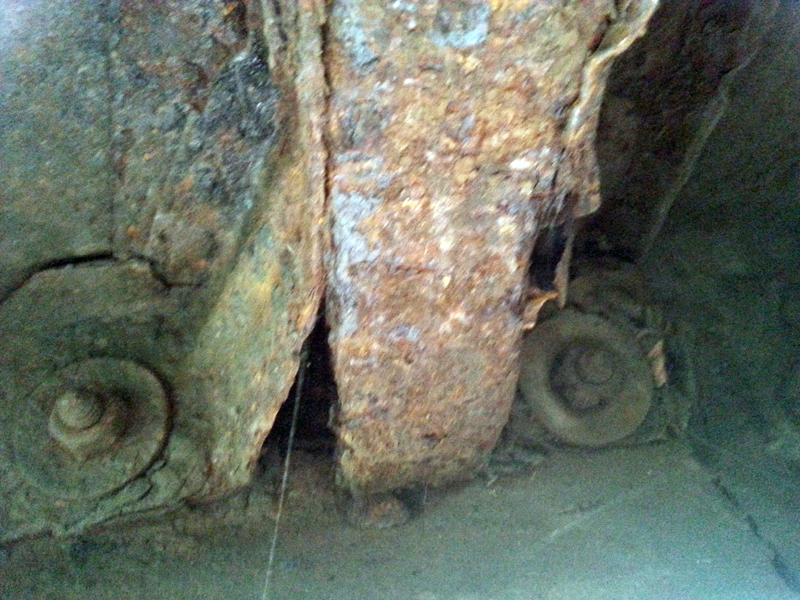
I cut along the marked line and started pulling off the lower section. It wasn't pretty underneath and as I dug further, it showed the drivers side to be a real problem and will require significant rebuilding.
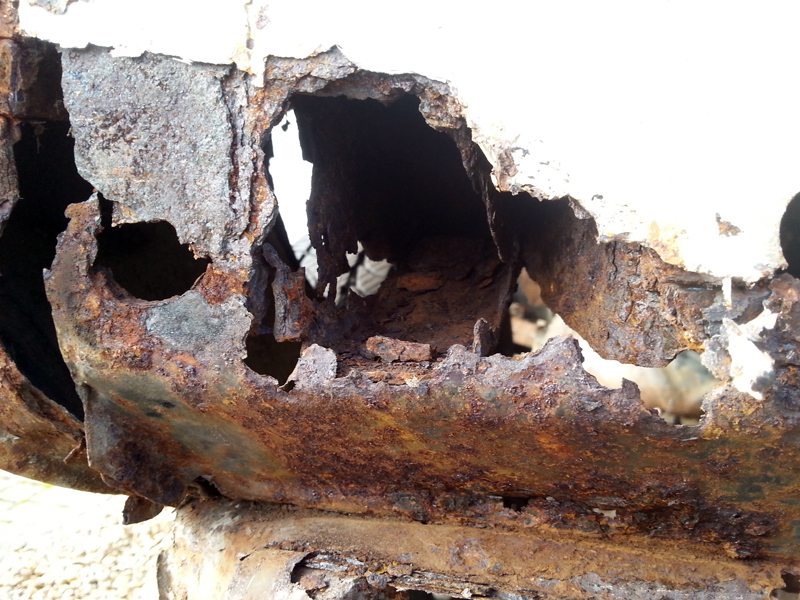
This shows just how bad that frame rail is, we are looking at the end of it here.
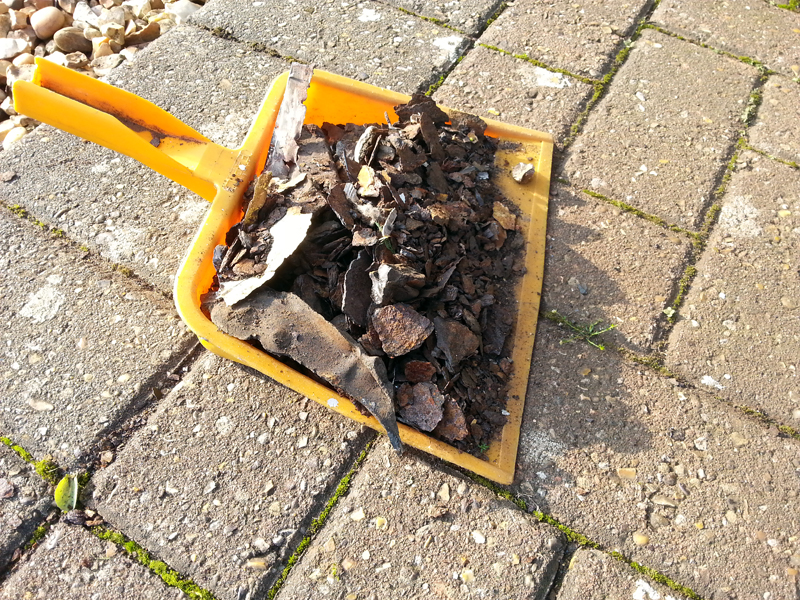
Another pan full of rust, just from this corner.
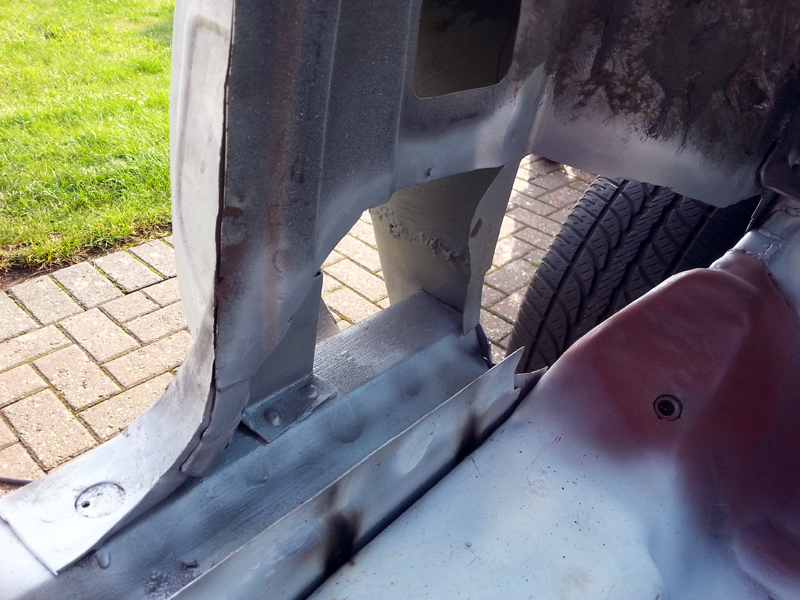
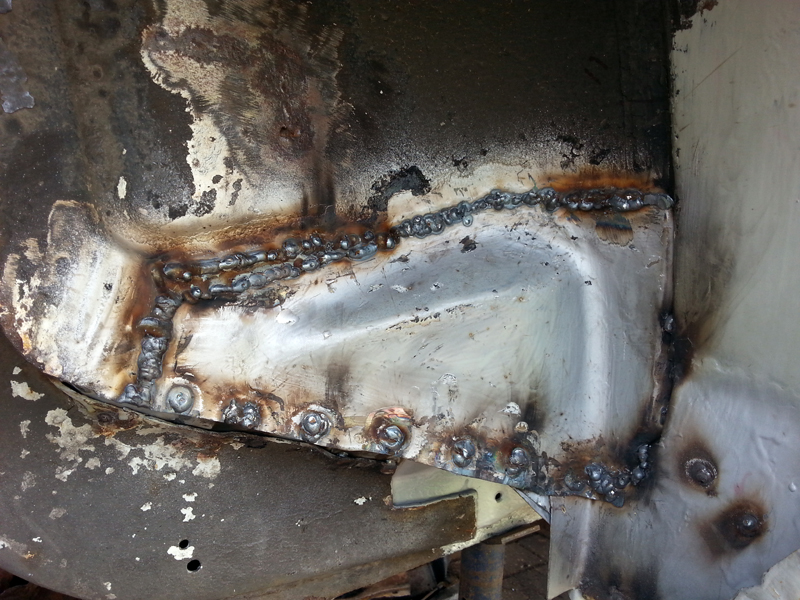
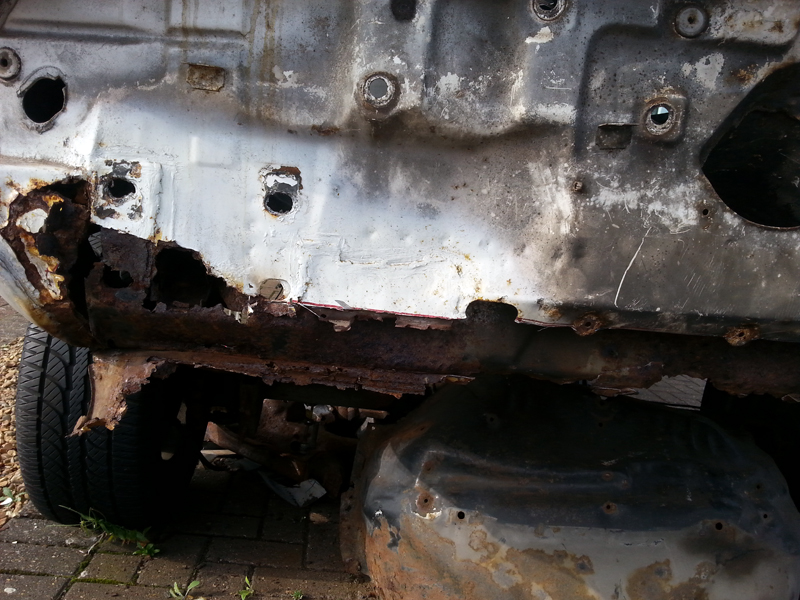
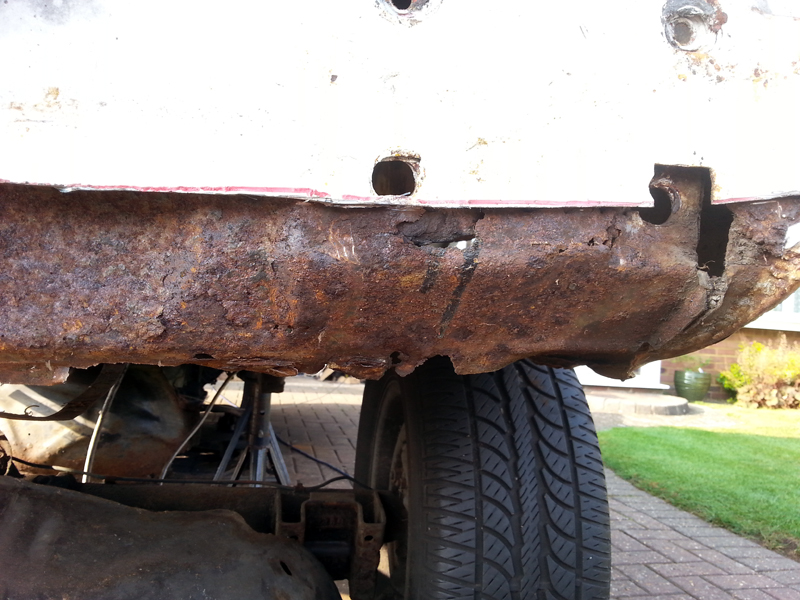
This is most of the outer panel stripped back, but I may need to go further, to give me access to repair/make the inner panel.
The passenger side isnt' as bad, but it will need some work on the inner panel too. Thankfully, that panel is fairly simple, so I should be able to sort it without shelling out on a full repair panel.
I now have another dilemma. Whilst pulling the back apart, I could see that the replacement panel I have goes on top of the rear quarters. I was going to leave the quaters until last, waiting until I had the rear frame and drivers floor done, but now it looks like I have to replan my order. I'm not sure which way to go now - Drivers floor and rocker, followed by the quarter, rail then tail? or carry on with the rear panel (all bar the final patch piece, rail then floor and quarter, with the tail finished last.
I will have to ponder that for a while.


