Show Posts

This section allows you to view all posts made by this member. Note that you can only see posts made in areas you currently have access to.


Messages - Jamieg285

Pages: 1 2 [3] 4 5 ... 174
51
General Banter / Re: A new vehicle enters the F body garages.
« on: May 26, 2015, 11:22:56 am »
Very nice - when can I have a go  :tongue:


Rocky is still about, I bought a steering box from him a few weeks ago.  Try contacting him through ebay - he always has a bunch of 3rd gen stuff listed under ID 'clairecar'

52
Projects / Re: '79 Camaro - Major surgery
« on: May 05, 2015, 01:07:20 pm »
Monday morning and the first thing I did was cut the rail out again :-(

As well as not being happy with the standard of welding, it appears that something had shifted between me setting it up and welding it in and it was in crooked.


To make it easier, I cut some more of the trunk pan away, giving much better access to the inner side, both for the new cut (which was also done better this time) and the welding.

This time, more care was taken getting everything setup and held in place and off I went again.


This time the it went in properly and the welding was far, far better.


Welds were then ground flush, with some filling added where needed.


Unfortauntely, now too late to do properly with the original rail in one piece, I found a small section right next to where I had welded that needed sorting. For now I have cut that bit out and started preparing a patch.


So, overall, I didn't get much further on the Monday than I had got on Saturday, but at least this time it was done properly.  Still some way to go though. I want to try and add some internal support, but not sure how yet as access is very tight in there.  Some of it will have to wait until the quarter panel is out, even then I'm not sure it will be enough.  Time will tell!


53
Projects / Re: '79 Camaro - Major surgery
« on: May 05, 2015, 12:56:15 pm »
Finally, the first big update of the year. It was a long weekend and the family were away.  It was supposed to be 3 full days on the car, but rain put pay to that on Sunday, but there were still two good days of work done.

Yet again, focus changed and I set out with the intention of completing the drivers rear frame rail in the available time.


Before cutting anything out, I wanted to make sure I was set for positioning the replacement. I came up with the idea of using a piece of scrap as a height guide, fixing it to a re-fitted shackle bolt and bushing.


Then I measured to the side to get the alignment in that plane.


The last few spot welds were removed, although suprisingly, there was only one to the top section of the frame.


I worked out where I wanted to cut. Far enough past the rust, but not too far, then drilled some guide holes through the trunk floor so I'd know where to cut from the top side.


Then it was in with the cutter. Access was difficult with the angle grinder, so it was partially done with that, with the rest finished off with the Dremel.


All done and a bit of hammering and it fell out. Well almost. There was one more spot weld between the frame end and the cross rail. A quick slice with the cutter and it was properly out.


Yes - I think this did need replacing!


Whilst preparing the end in the car, I came to the conclusion that I wanted to extend the cut a bit further, getting it away from the oval hole in the base. A few chops later and another chunk was out.


With the overall length now sorted, I was able to remove the donor section from the replacement rail. I made sure I was an inch too long, so that I had plenty of room to trim it down to fit. The last thing I wanted as to cut too short!.


Then, bit by bit, I carefully removed gradually smaller and smaller chunks and slices until the two ends were a good fit.


The end of the rails were prepped, height gauge put in place and clamped together and out came the welder.


It's fair to say, it wasn't pretty and I wasn't overly happy with it. 


Next job will be to grind it back and work out which bits need going over again.

It was now late on Saturday (still daylight :-) )  and I was really happy with the progress.  I had not imaginged that I would get so far through this in one day. 

54
Projects / Re: '79 Camaro - Major surgery
« on: May 05, 2015, 12:36:02 pm »
A small update from last weeks mid-week session.  Targets for today were to start repairing the small areas at the front of the outer rocker area, getting them done before the new rocker is ready to go in.

Whilst digging out a bit more of the rust that was found on the inner panel, I found a patch on the outer side that needs attention too.


Time was short, so I opted to start on the outer section first, grinding it back and finding the limits of the rust. Then a donor piece of metal was found and bent to match the curve.


This was then trimmed to size, the area prepped and then welded in.


I did get it fully welded in, but my welding touch has dropped off over the winter and it looks awful.  With the door in place I can't get the grinder into it yet, so this will have to wait till a lot later in the project.

55
General Banter / Re: Dirt Quake 2015
« on: May 05, 2015, 11:04:11 am »
probably understandable ...
what would please you,
a big off road tourer,bmw, a streetfighter,triumph triple

A V8 trike?    :tongue:

56
General Banter / Re: Dirt Quake 2015
« on: May 01, 2015, 11:23:55 am »
Looks a bit mis-leading to me. The picture shows a very muddy bike, but Norfolk Arena is a pucker Speedway shale track.

I'm sure it will still be good though, it enteraining enough with dirt bikes, let alone road ones.


57
Projects / Re: '79 Camaro - Major surgery
« on: April 23, 2015, 11:15:52 am »
You seem to be gaining quite a stockpile of steel under the car !

Yes, it's starting to look a bit untidy now, and it's limiting access underneath.  I need to find out if the recyclers will take it and how much for. No point lugging it 15 miles for next to nothing.


58
Projects / Re: '79 Camaro - Major surgery
« on: April 22, 2015, 03:05:47 pm »
A few more short sessions this week, making more good progress on getting the rocker off.

First off, here is one of the missing pictures from last week, showing the recently uncovered area on the drivers floor that will need patching.  I will probably loose the plug and just put in a flat panel.


Onto the actual work... despite saying I did't want to take the door off, we had friends over for the weekend and, with the help of a few beers, I managed to get an agreement to help lift if off and refit afterwards. 

Had similar problems with the door hinge bolts as the other side.  One snapped, and there was one that was in at a strange angle and came out stripped.  Attempting to get another bolt in the same hole looked like it would do the same thing again, so for now there is just one bolt on the lower hinge - same as the other side!

Thankfully, there were less spot welds in the top section that the passenger side, so it was pretty quick to drill out all of the welds that would be hampered by the door, and then we could get back to relaxing and enjoying the weekend.


Yesterday I continued getting that front piece out, removing the inner spot welds.  I did find another small area that will need patching in the panel behind the kick panel.


Attention then moved to the lower edge, which meant out with the trusty spot weld cutter, as I didn't want to drill right through the inner rocker this time.
I started near the back where access was easiest, cut two holes out, then split it so that I could peel the metal away as I worked in either direction.


Rear section cut away pretty quickly.


Front section took a bit longer, but was making good progress.


Today was all about continuing along the lower edge.


I couldn't get to the front to spots on the lower edge, so worked on the 3 on the underside.


Almost there.  Most of what is left is more tricky locations to get into with the drill.  Hopefully I'll get them all out in the next session, but I expect it may take longer.


Good news is that the next container is now sailing and is due here in about 3 weeks.  Bad news is I've already come up with a few more things I need, so will have to have another shipment later in the year.


59
Projects / Re: '79 Camaro - Major surgery
« on: April 16, 2015, 01:31:56 pm »
With a few other jobs to do deal with before getting to the car, today's session was very short at just 30mins work time. I did get as much done as I could.

I started by getting more of the rear end of the rocker out, succeeding in getting most of it off.


What's left there is a bit more fiddly, and will take a bit more care in making sure I leave what I can of the neighbouring panels. A job for a day with more time.

Whilst the disc cutter was out, I also trimmed back some more of the front end back. Again the front is going to be a bit more tricky, especially if I am going to keep the door on (not sure if it's possible yet, but I'm going to give it a try.

Next up was a quick slice into the remains of the top strip and pulling it off, which just a couple of spots needing encouragement with the chisel.


Finally, just before packing up, I bent up what remains on the lower edge, so that I will be able to get the spot weld drills in next time.


60
Projects / Re: '79 Camaro - Major surgery
« on: April 14, 2015, 01:43:29 pm »
I didn't get a chance to enter the last update, so here is a double one, although still quite short.

Work continues on removing the drivers rocker.  Last time out I finished the cuts that were started last time and started drilling out the spot welds along the top edge.


It was a lot easier doing it from the outside, rather then crouching inside the cabin.  I also spotted that I could use a normal drill and go straight through, again easier than using the spot weld cutter, which will have to be used on some of the spots later.

Today I did a bit more.  I made sure that I didn't forget about the brake/vapour lines running down the inside edge of the rocker. 


I removed enough brackets to move it away from the work area, although I don't think I'll be able to remove it completely, as it being captured by the SFC.


I forgot to take some pictures (will get them next time), but I found a small area in the floor, around the drain plug and floor/toe board transition area that will need to be patched.  Didn't look too big or too difficult.

With time running short, I made a start on the rear door section, finding and drilling out the spot welds.  The rearmost one on the vertical side was rusting out, so I may need to take a closer look at this before I well the new panel in.


Good news is the first of the shippments from the US has arrived in the UK and is ready for collection.  The second is packed and due to sail anytime soon, so I'm holding off collecting until both lots are available.

61
Projects / Re: Project - Paperweight
« on: April 13, 2015, 11:17:14 am »
The engine was a 318 Mopar (small block) so there's some useful parts on there that'll be put up for sale, plus a nearly-new Holley 600, valve covers and air cleaner etc . . .

I may be interested in anything that is compatible with SBC...  Let me know when you get that far.

62
General Banter / Re: Help to Identify Vehicles
« on: April 02, 2015, 11:33:50 am »
1. Not a V-max - doesn't have the big side intakes.  I would say Virago

2. Yamaha FZR 1991

3. Maserati Ghibli 1970ish

4 - Agree with Fubar

63
General Banter / Re: How to rebuild a Chevy small block V8.
« on: March 23, 2015, 12:37:45 pm »
And I thought my engine was dirty!

Interesting, but too fast to see what is actually going on.

64
Projects / Re: '79 Camaro - Major surgery
« on: March 19, 2015, 12:57:34 pm »
I have a feeling that most of the updates this year are going to be from short bursts during my lunch breaks at home.  Here is this weeks:

With the sun shining and a feeling of a bit of warmth in the air, I decide to start working on the body work again.  Although I have been doing some bits and pieces, none of them feel particularly important - although all progres is good progress. 

The replacement drivers outer rocker panel is now on the boat to the UK and all being well will be in my hands within a month, so I made the decision to start working on the removal of the old one.  Now I know what's involved, I'm going in with a much less surgical approach, and going more for speed.

I started of with stripping the paint off the lower edge to reveal the spot welds. Rather than using a small almost pen sized wire brush in a drill, I've opted for a more brutal looking affair in the angle grinder, and it made a much better and quicker job. I wish I'd started using it before now.


Knowing that I can't get the spot weld cutter into those spots, my next step was to start cutting out the bulk of the panel, thus removing the restriction.  I'll need to brace across the door opening again, but with this in place I wouldn't be able to make the cuts across the top, so I have made the initial cuts that need doing before the brace is put in.


I ran out of time to finish these, and will probably need to finish a couple of them off with the dremel.  I finshed off the day by placing the brace in, and making the necessary mods to it so that it fits the opposite side of the car.


I'll do the final top cuts and weld the brace in next time, before cutting the bulk of the rocker out.


I must stop looking on ebay. Even though my budget is overstretched, and space is limited, I can't seem to avoid finding bargains.  It's hard to pass on a £35 fuel tank that's only a few years old.  The filler neck is the wrong length, so I'll have to make some modifications, but apart from that it's all good. Plus it had about £20 worth of fuel in it, which I can put to use in my bike.

65
Projects / Re: '79 Camaro - Major surgery
« on: March 13, 2015, 01:50:23 pm »
A few minor updates and unusually for me, no pictures this time.

I took the time to clean up and apply some paint to the transmission cross member and engine mounts, so that I could re-use them on the new frame.  (turns out I didn't need to worry about doing this now, but hey-ho a job done is a job done)

Before selling my old frame, I wanted to be 100% certain that the replacement would fit without issue. So, it was dragged out of the garage and offered up to the car. There were some fun and games working out how the new solid body bushes fitted (no instructions!), and even more fun trying to get the end of the frame squeezed into the ends of the sub-frame connectors and then still be able to shift the frame into position. To try and make it easier, the front end of the frame was being lifted by the engine crane, which gave me plenty of swing and movement. After about half hour of shifting and shoving, it finally all lined up and bolts were test fitted.

All that work, only to take it out again! As there are still floor and rocker fixes to do on the drivers side, I didn't want to have the frame attached, and I also needed somewhere to put the engine.  With limited space the engine was lifted and dropped onto the frame, then the whole lot was picked up again and tucked back under the car.

To help get more space in the garage, the new core support was loosely fitted to.

I've started to repair the front piece that goes between the frame horns for painting, knocking off the loose rust and old paint.  Not planning to fit it yet, as I want the frame as bare/light as possible until it's properly bolted back on the car.


66
General Banter / Any one following F1 this year?
« on: March 13, 2015, 12:28:30 pm »
If so, feel free to join my GP Predictor league - http://gppredictor.com/league/join/code/a991aab52102a9a3732562fa29d8d7d2


67
Known problems / Re: Thread Images
« on: March 05, 2015, 01:15:52 pm »
whilst i can get teh SQL statement this far:

Select * from table where body contains '<img src=\\\' it doesn't like the "

Any thoughts on how to do it, 

Try:

Select * from table where body contains "<img src=\\\""


Not sure how you would amend it after you've selected it though.  I think your idea of a full DB dump to text, find/replace and reload is probably the better anyway. 

68
Known problems / Re: Thread Images
« on: March 04, 2015, 12:46:47 pm »
I take it no progress. Can I help at all?

69
Known problems / Re: Posting Smilies
« on: March 04, 2015, 12:45:12 pm »
That was one of my custom hacks.

Don't know if there is a proper mod for it though

70
Projects / Re: '79 Camaro - Major surgery
« on: March 04, 2015, 12:40:55 pm »
Camaro looks a bit different from this chilly morning in Feb 2006:


(In the background... not the frame near the front  :P)

It could quite easily be confused at the moment  ???

71
Projects / Re: '79 Camaro - Major surgery
« on: March 04, 2015, 12:38:57 pm »

I had the same issue, years back and never resolved it so I'd be intrigued to know the "trick".


Surprisingly simple.  Instead of concentrating your efforts trying to push/pull the joint out of the hole, you work at deforming the hole so that the joint and hole no longer match.  In this example you hit the end of the pitman arm (90* to the joint), as if you wanted to oval the hole.  A few sharps hits (less effort that I was using to try and force the joint out) and it simply popped loose.  I've also heard that using 2 hammers either side (instead of the end) of the arm will do a similar job.

72
Projects / Re: '79 Camaro - Major surgery
« on: March 03, 2015, 01:46:28 pm »
Had a bit more time to work over the last week, so a few things to update.

First off is my latest acquisition.  Luck was with me and I go this at the opening price:


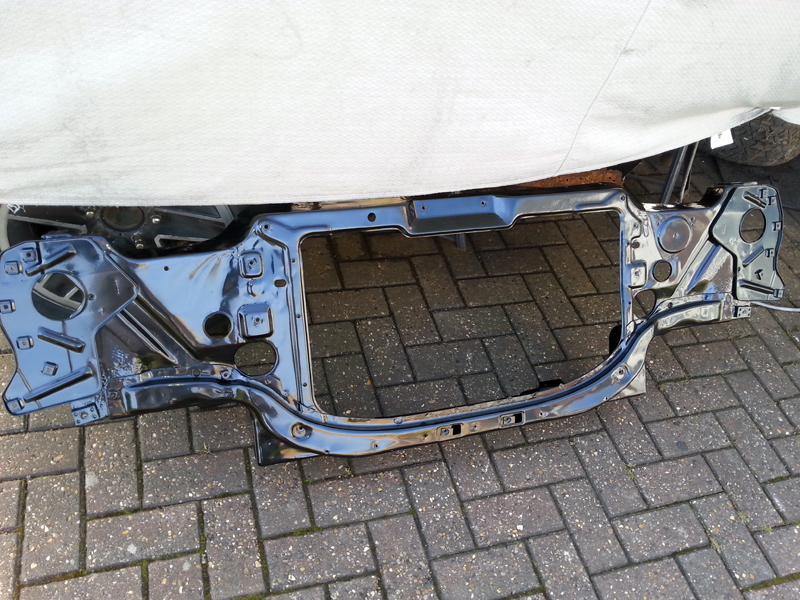
Yes, a fully refurbished and powder coated 1979 Core Support! And only 30 mins away from home!  This could save me weeks of work.


I've also been busy ordering stuff to come over from the US in a container.  Back-order delays meant I won't get the quarter panel I need (I will get this on the next shipment later in the year instead), but I have got the drivers outer rocker, chunky wheel adapters, along with the required longer studs and new lug nuts, del-alum bushes for the front suspension and new tie rods. 

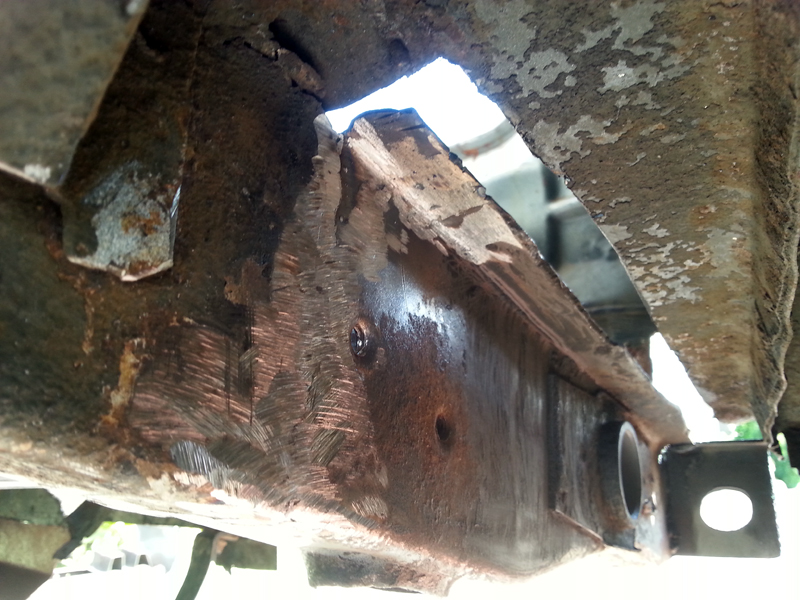
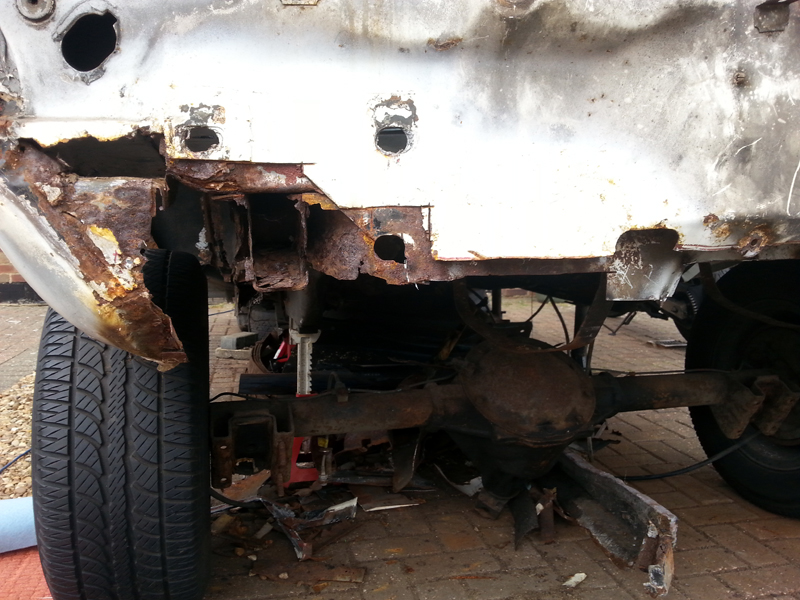
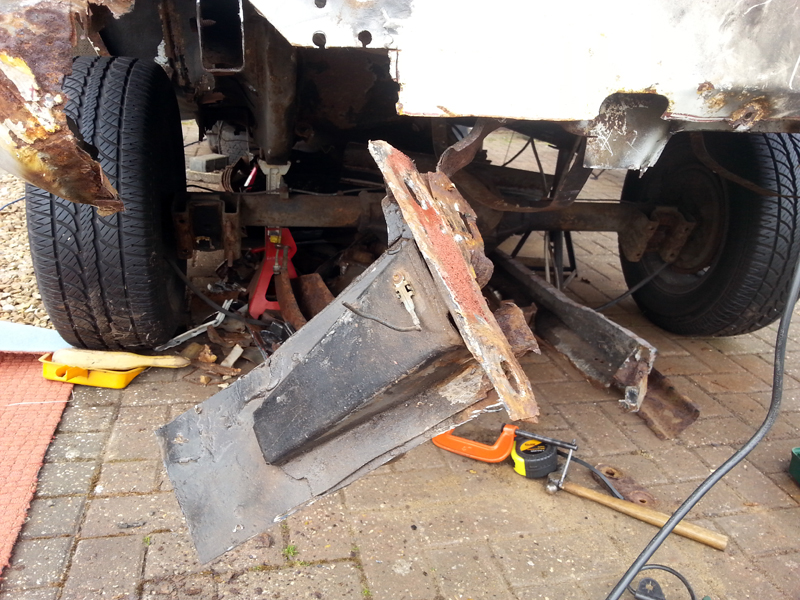
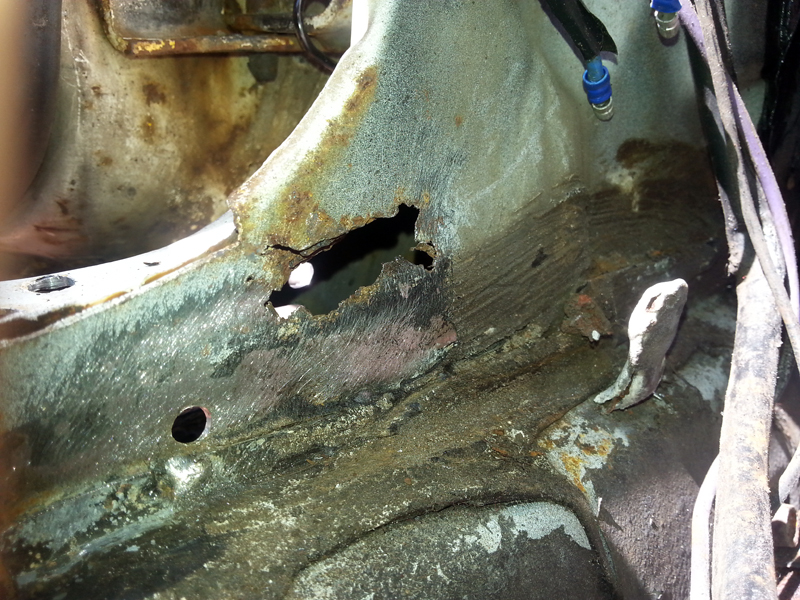
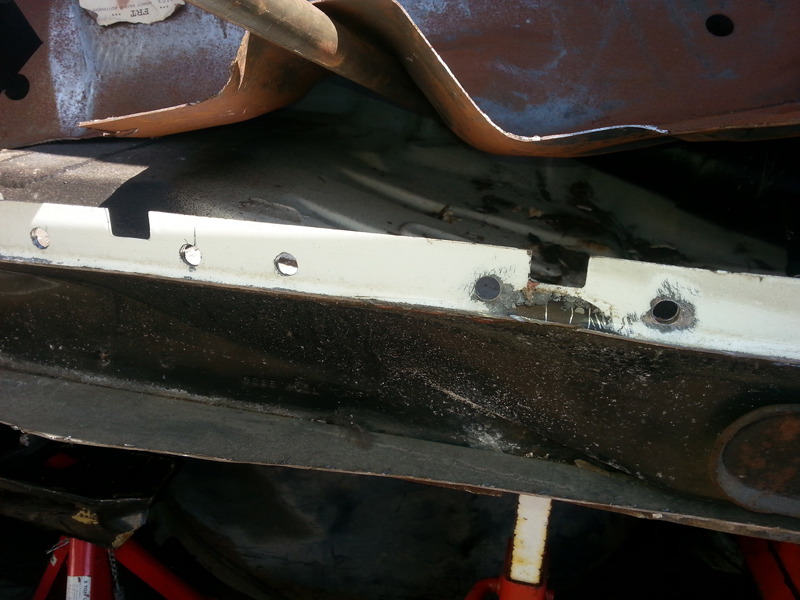
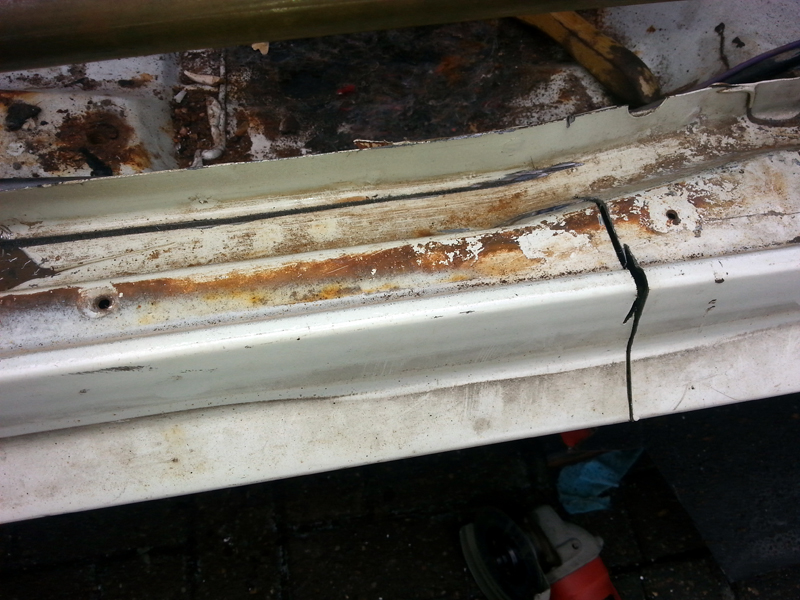
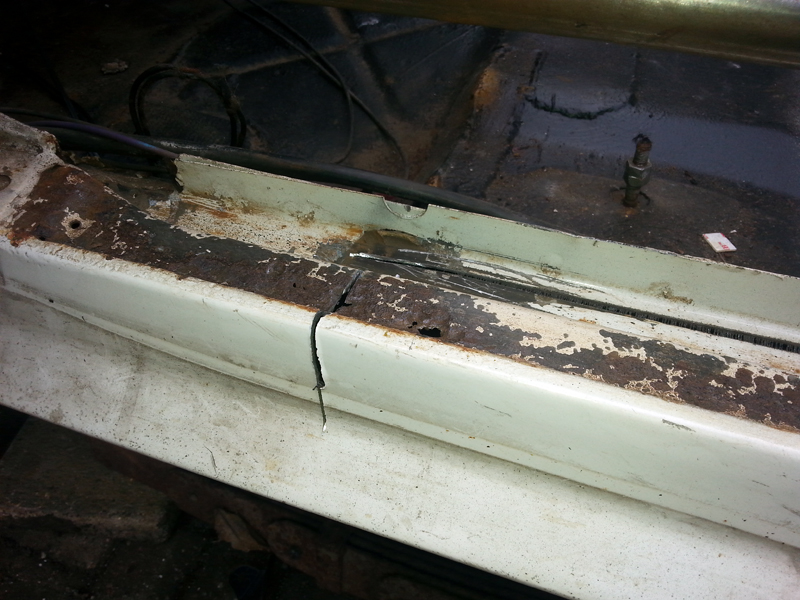
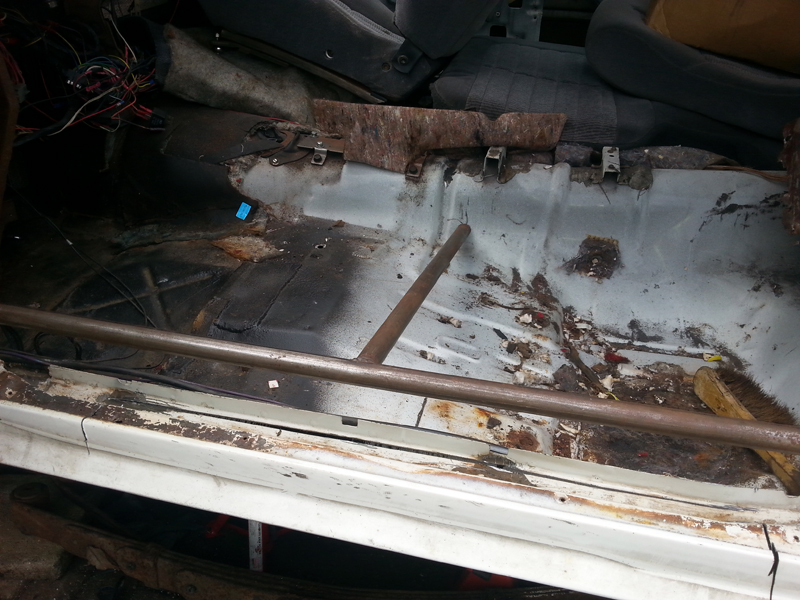
With all these items needing more storage space in the garage, the focus has to be on making space.  With this in mind, I've gone full steam ahead into removing the old sub-frame alowing me to get the new one out and under the car.  With a lot of the new parts that are going to go on, I've decided to try and sell the frame complete with suspension/steering and brakes.

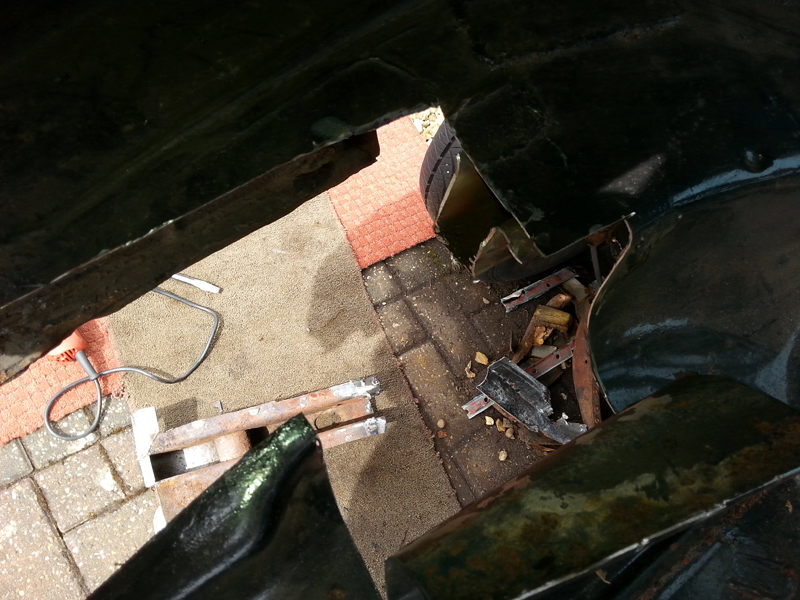
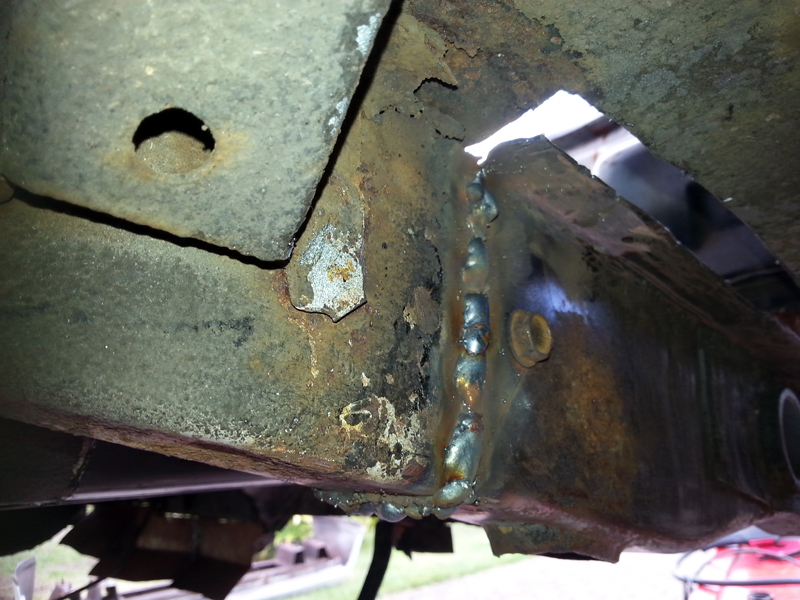
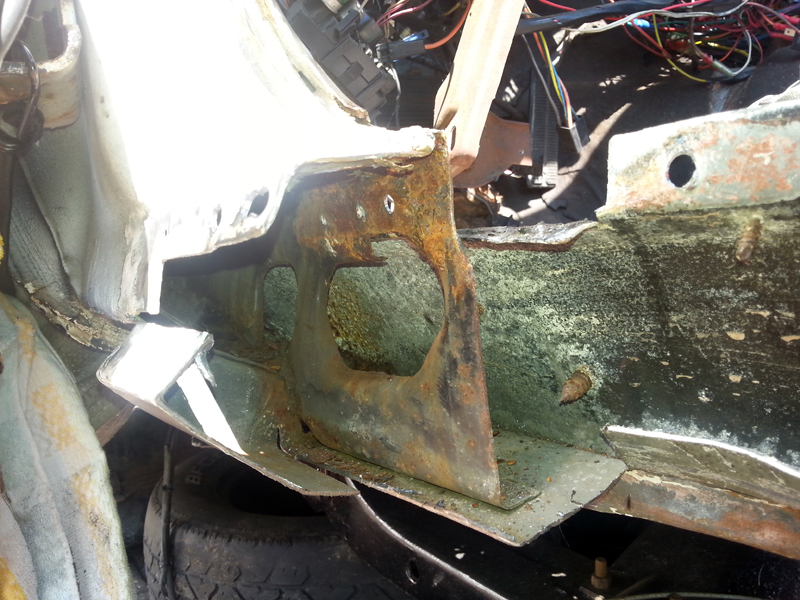
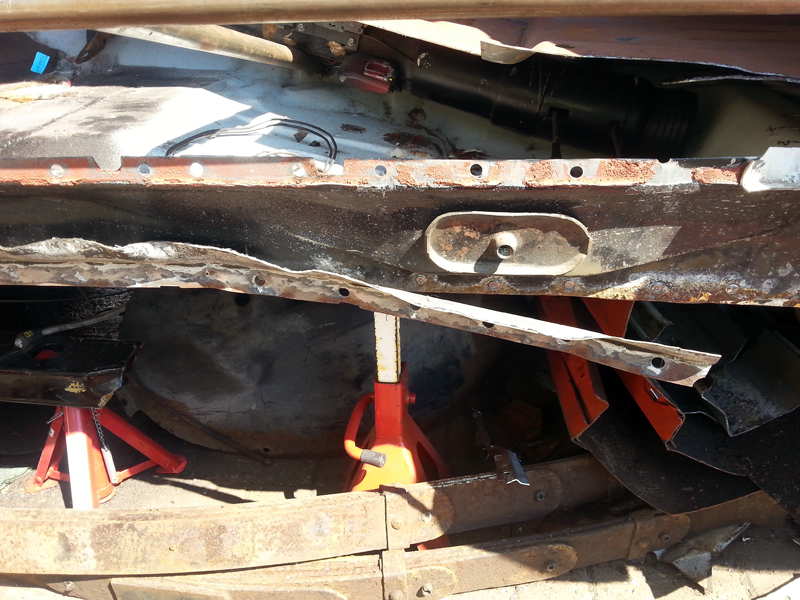
First job was to start dismantling the frame, removing anything I want to keep.  Core Support and front cross member out first.


With some battling (trying to keep the circuit intact) I got the full steering assembly out too.


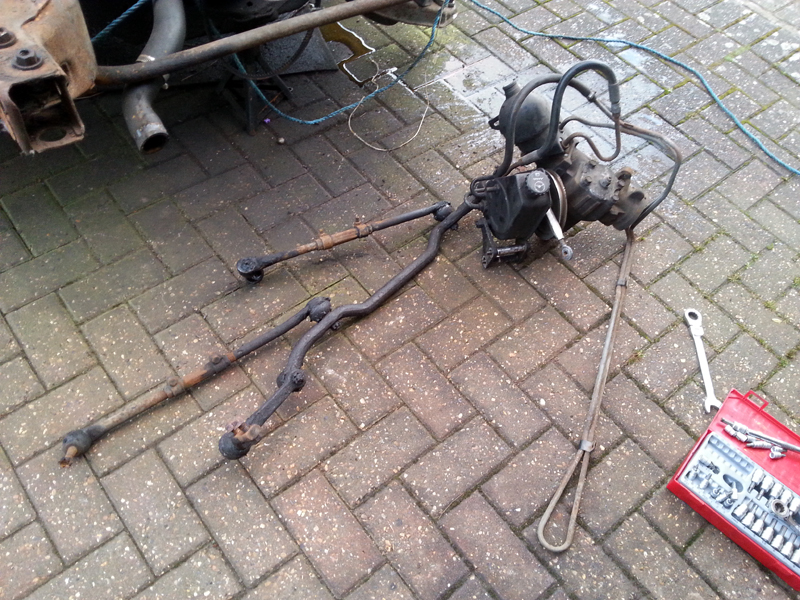
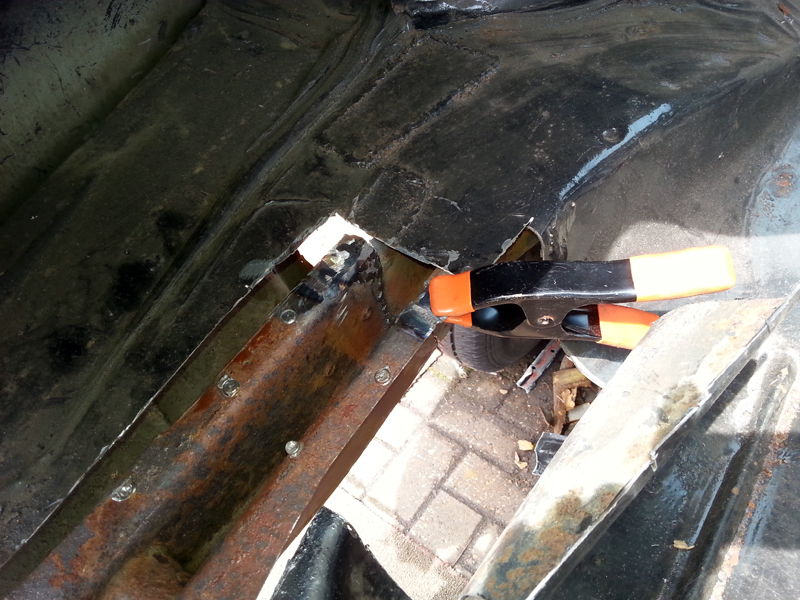
Try as I might, I couldn't separate the linkage from the pitman arm, which I needed to keep.  Thank fully overnight I receieved some words of wisdom and used a different technique (brains not brawn) and it popped off easily.


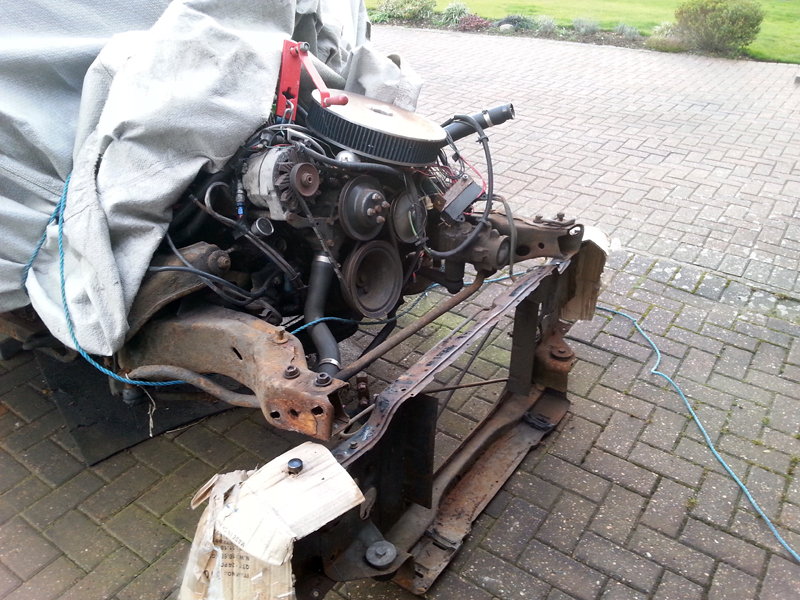
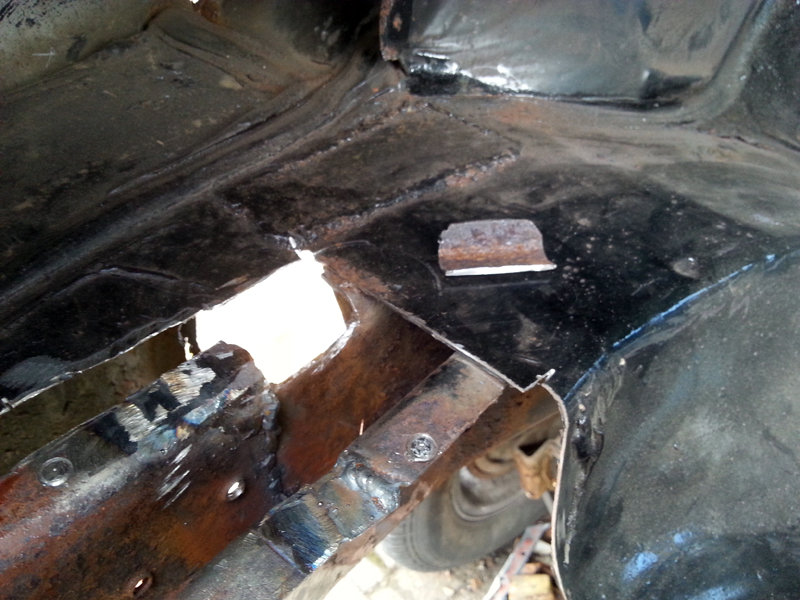
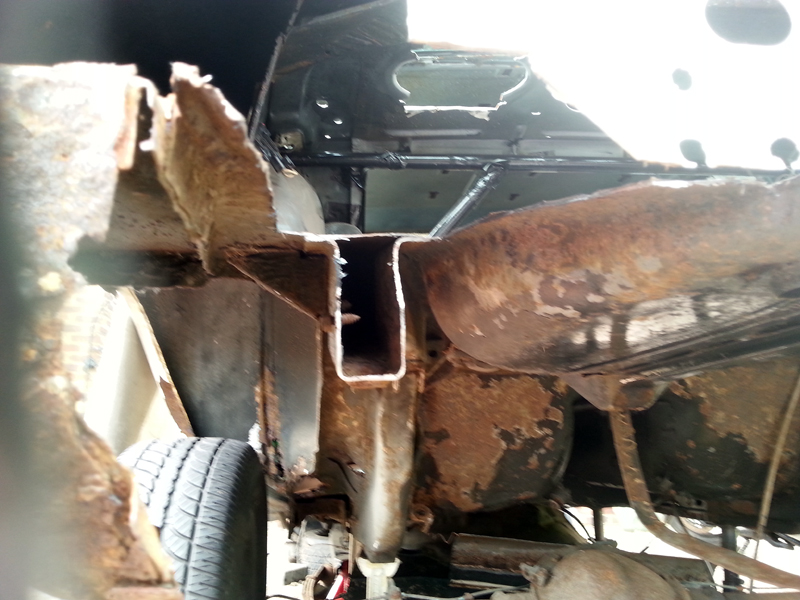
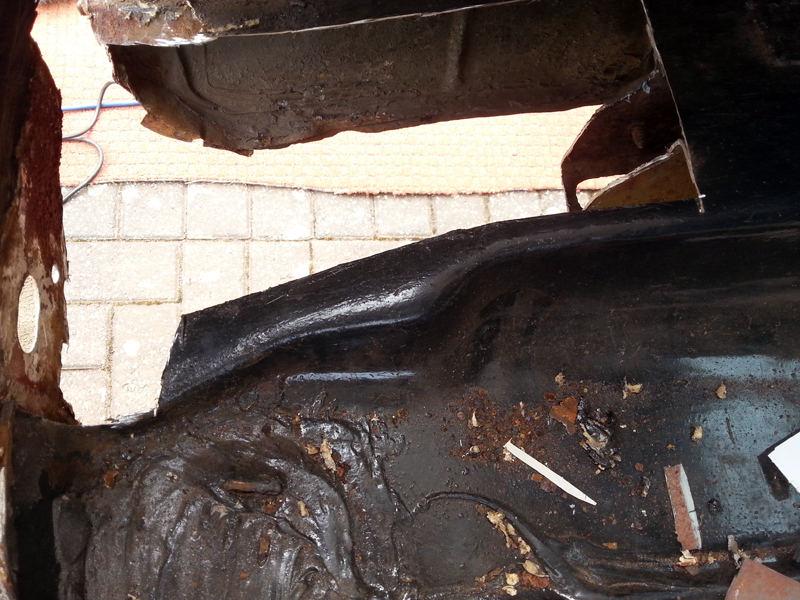
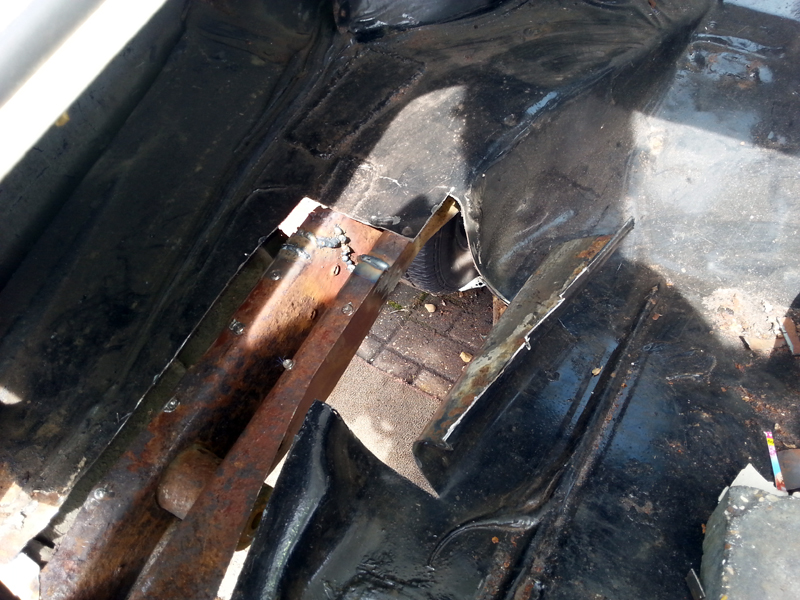
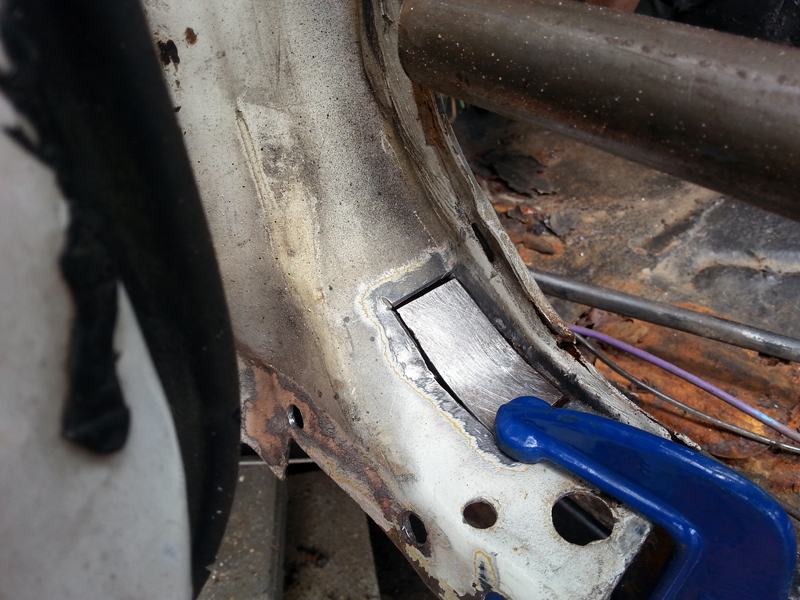
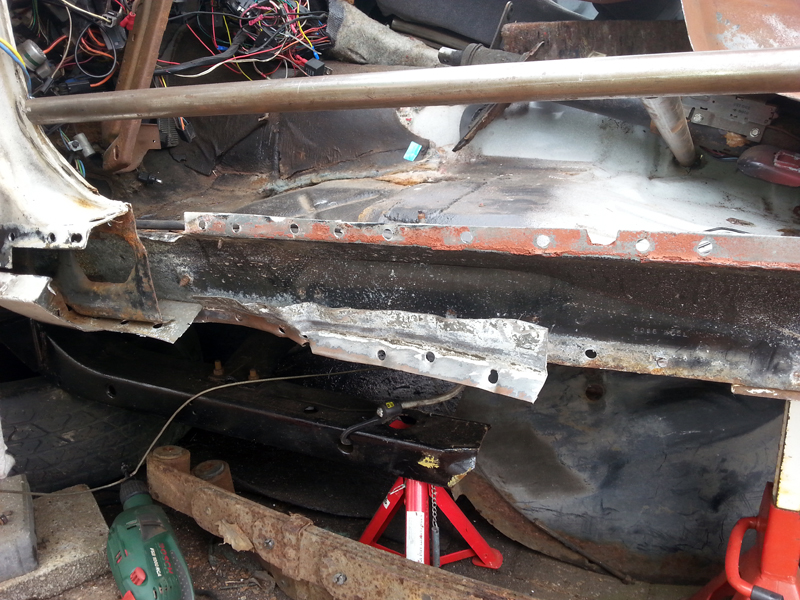
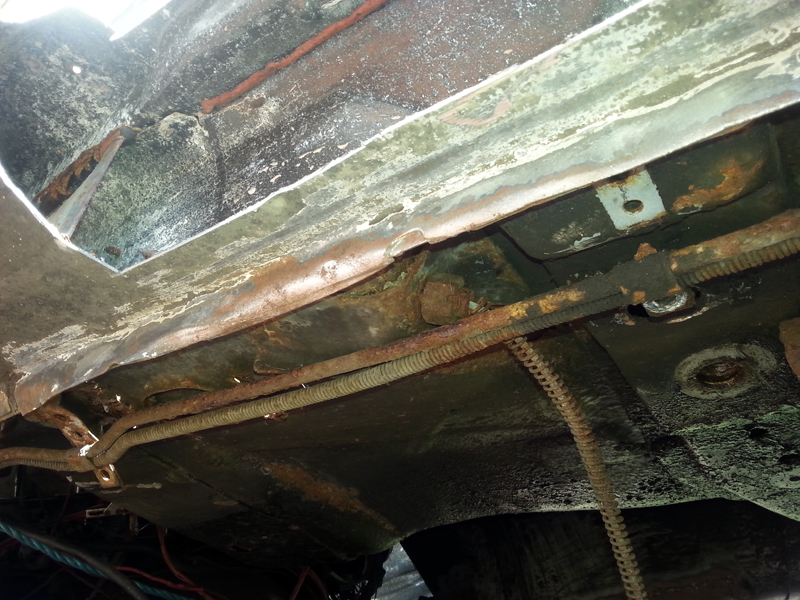
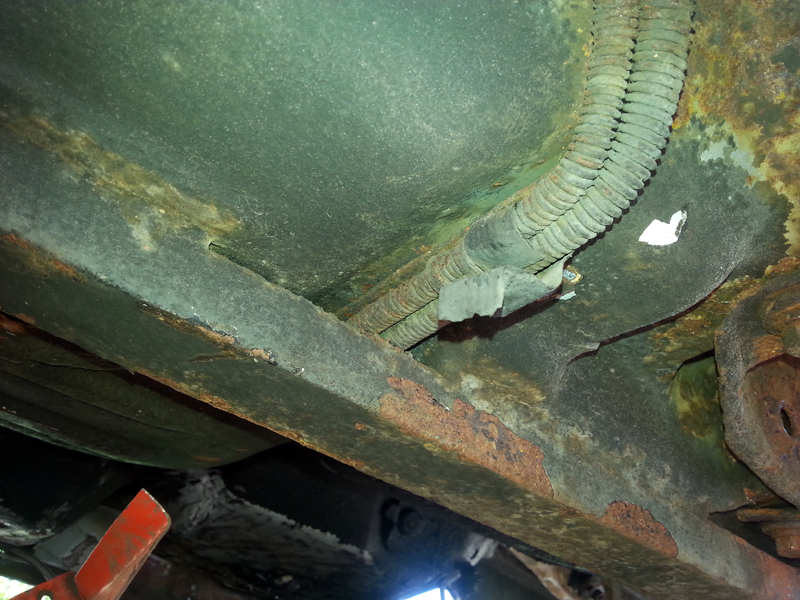
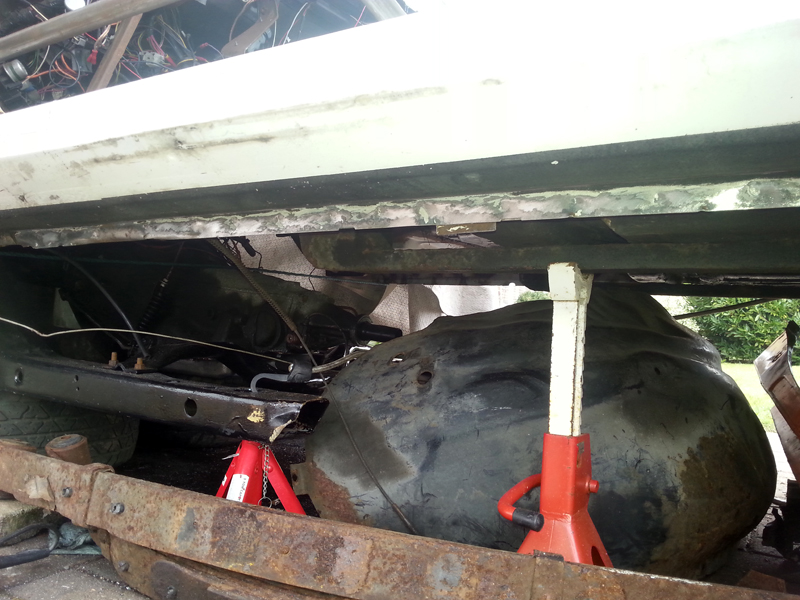
Last minute check on engine/frame to body connections, cut 1 wire and disconnect the fuel line at the pump and I was ready to lift the engine.  To give myself as much room to move as possible, within the limited space available, I pulled the whole thing forward.


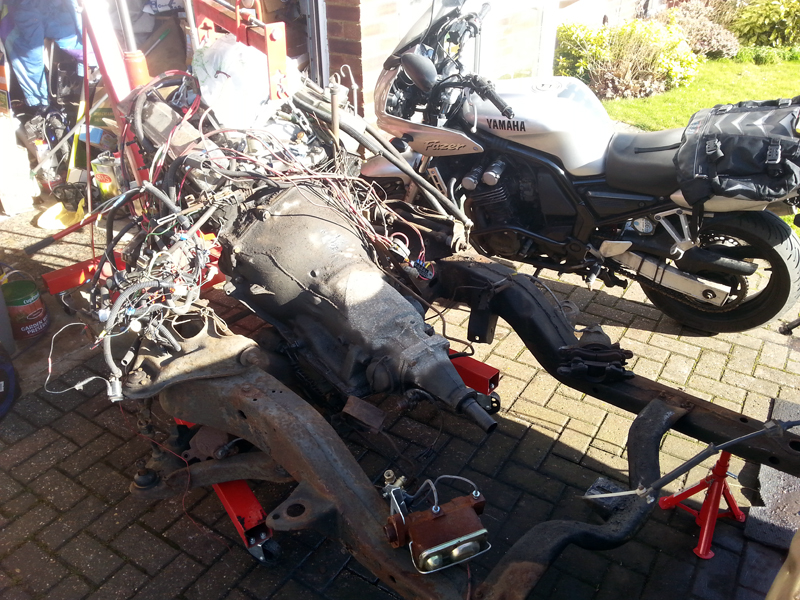
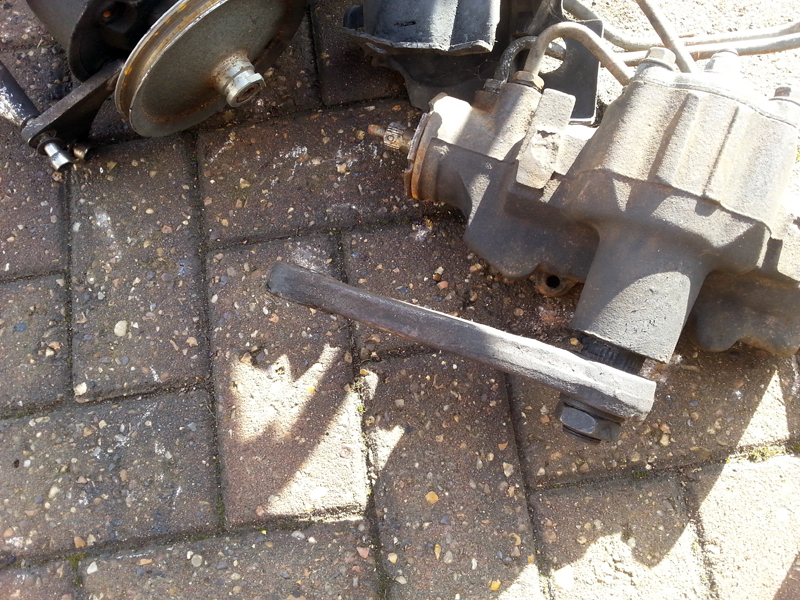
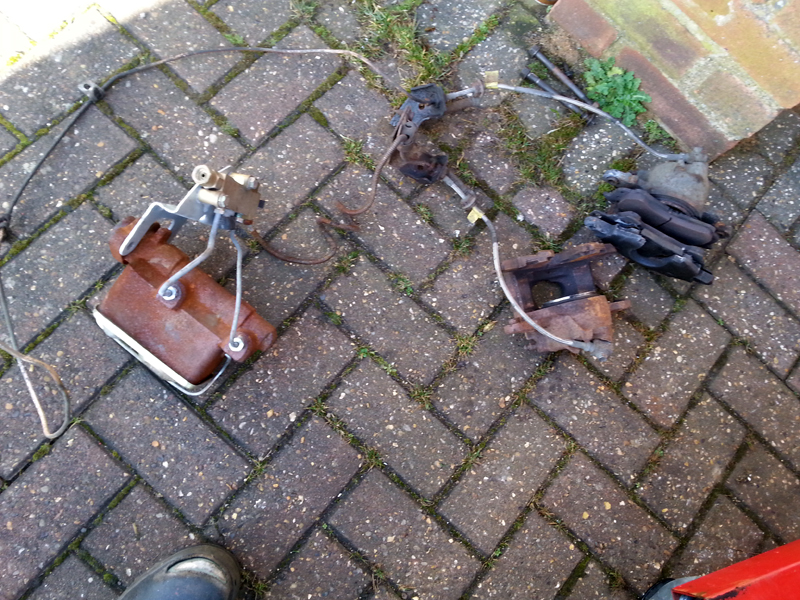
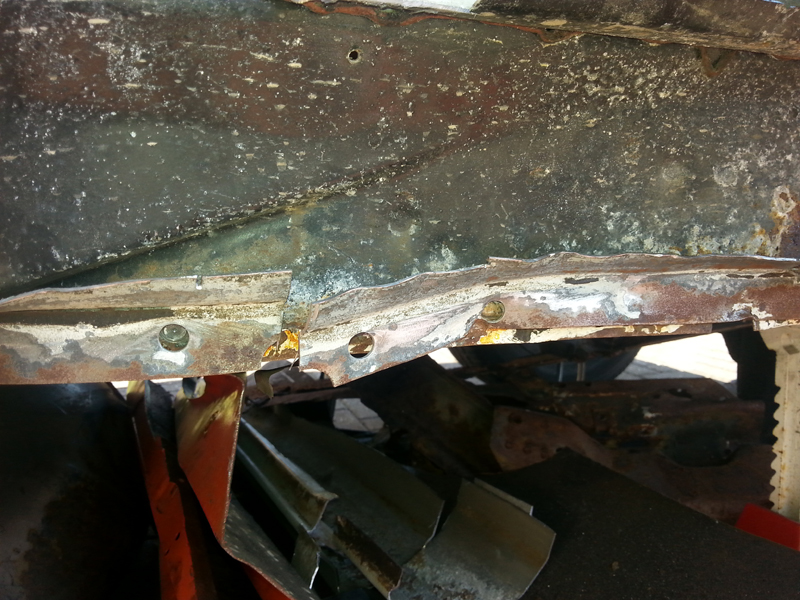
I should have done it earlier, but the brake lines and calipers were still attached and being a bit of a pain, so I quickly pulled these off.


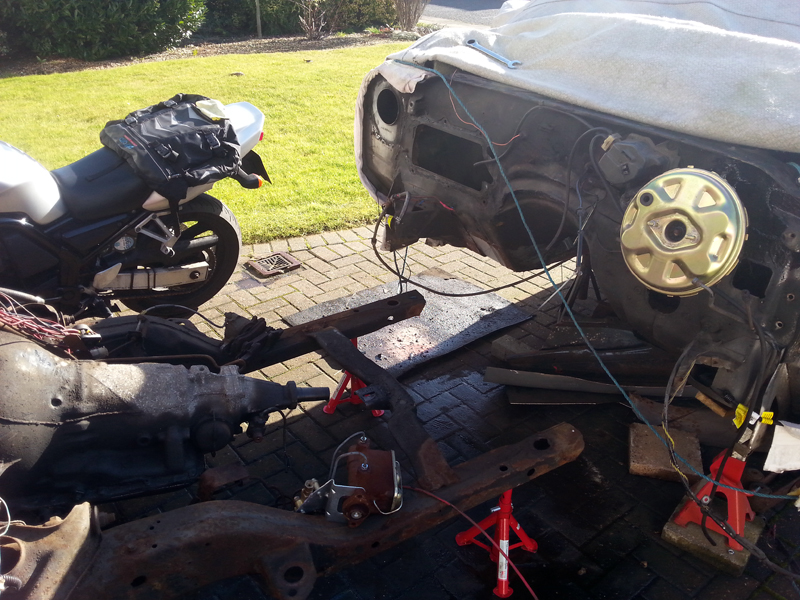
With that done, it was bolts out and engine up!


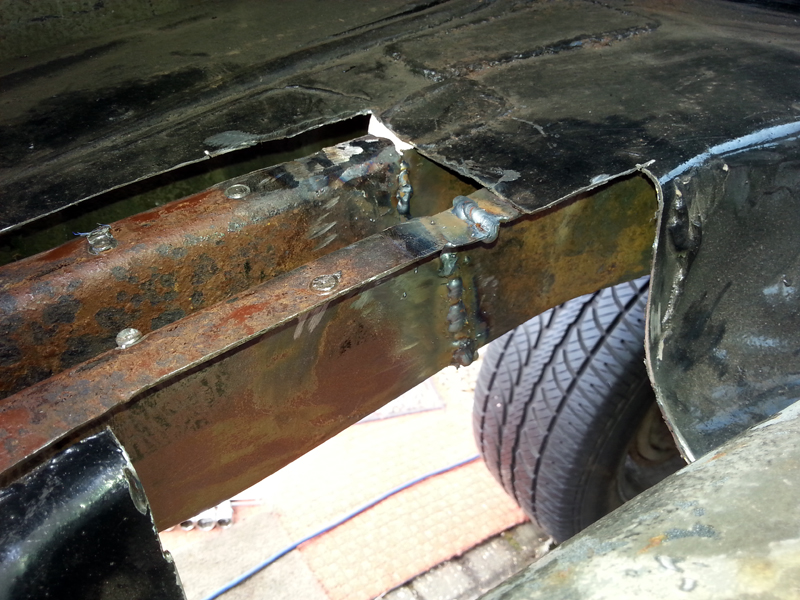
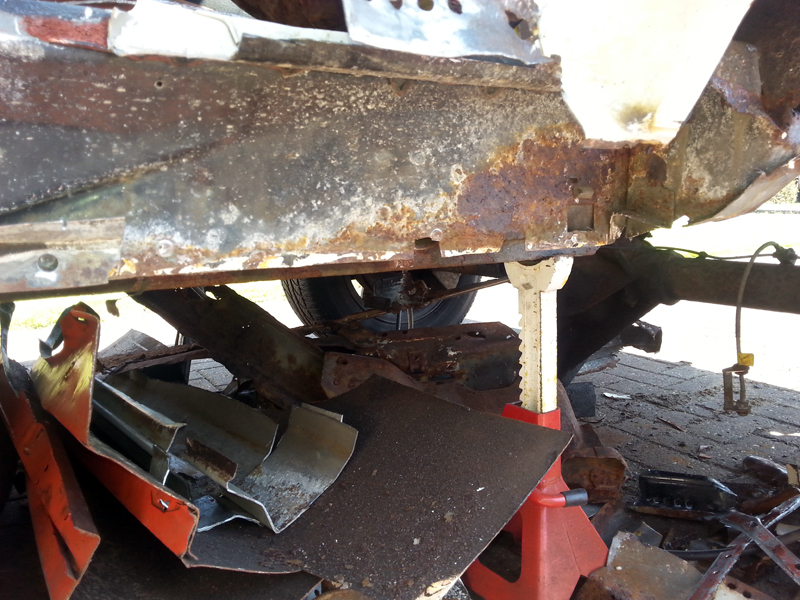
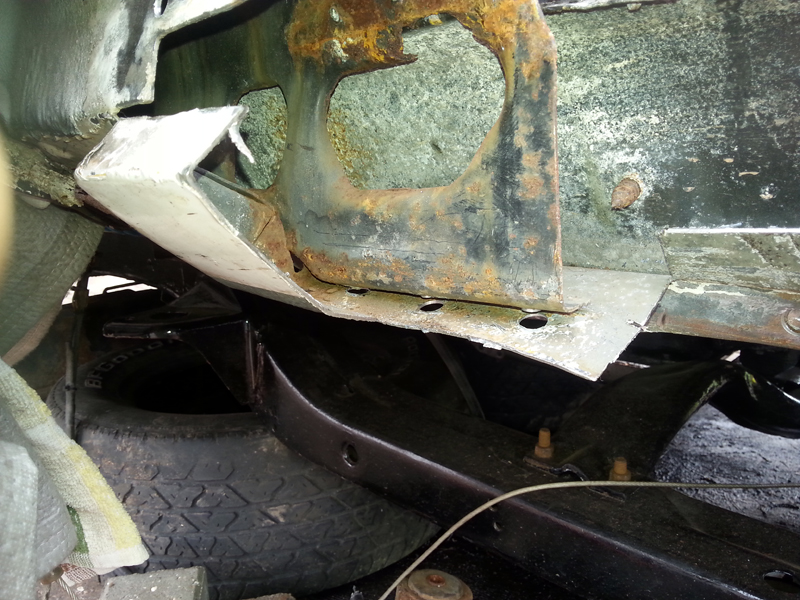
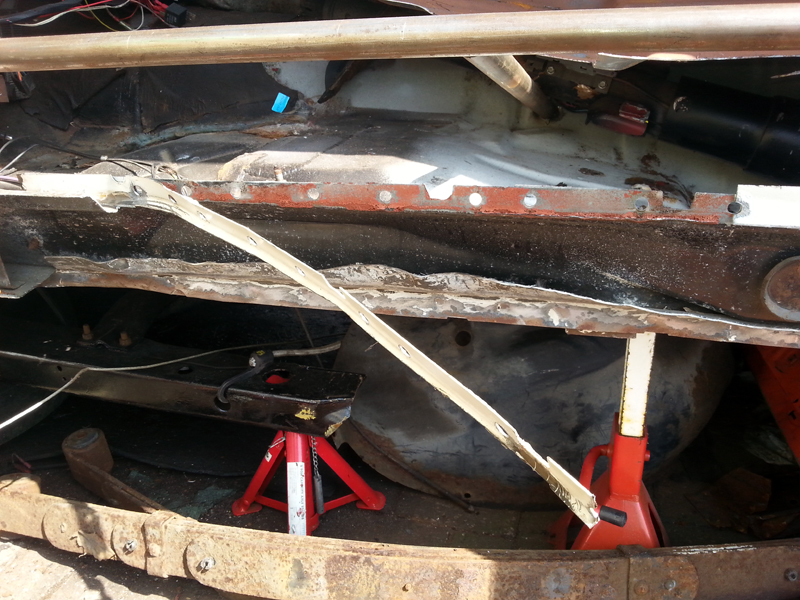
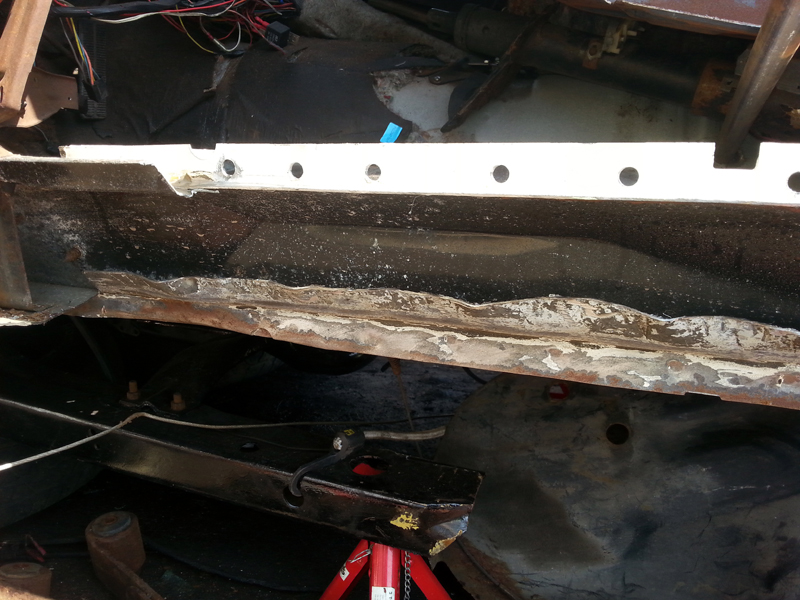
Then carefully slide the frame out, lift it up and move to the rear of the car where there is a bit more working room.


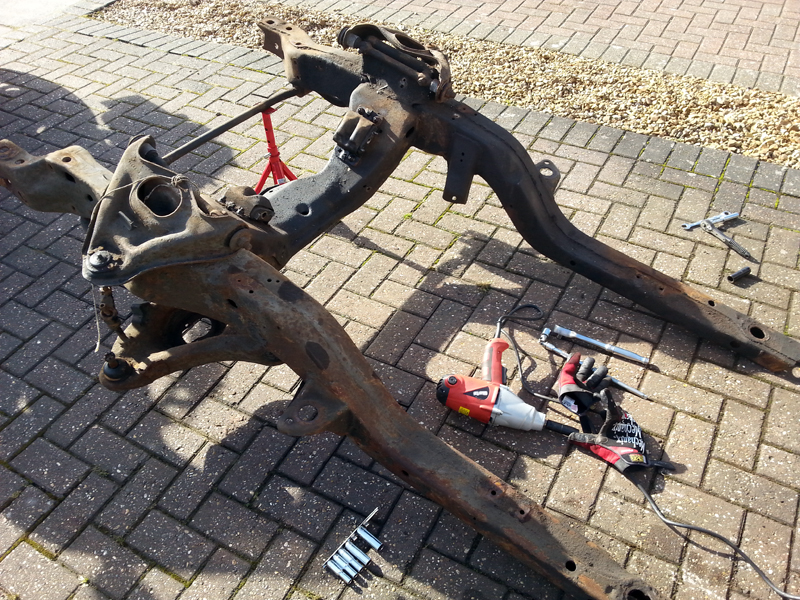
The engine was carefully tucked back under the car, and then attention moved onto preparing the frame for sale.

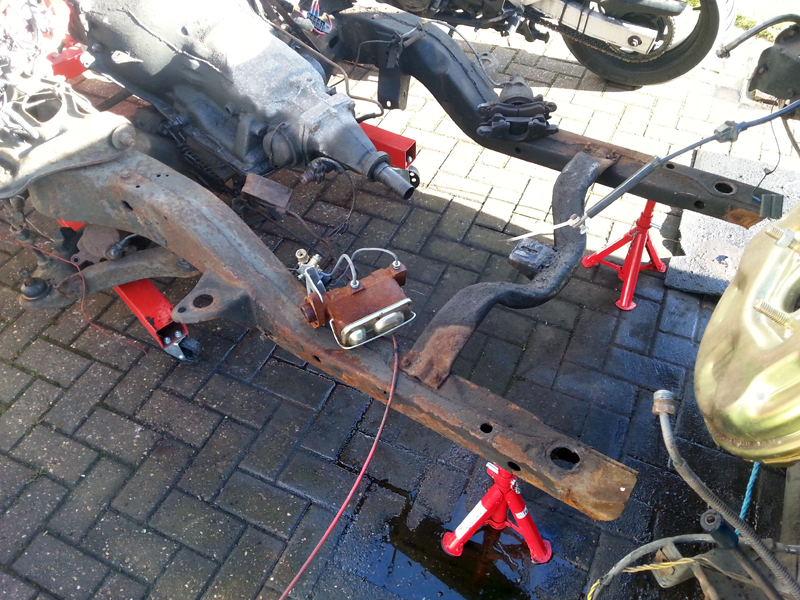
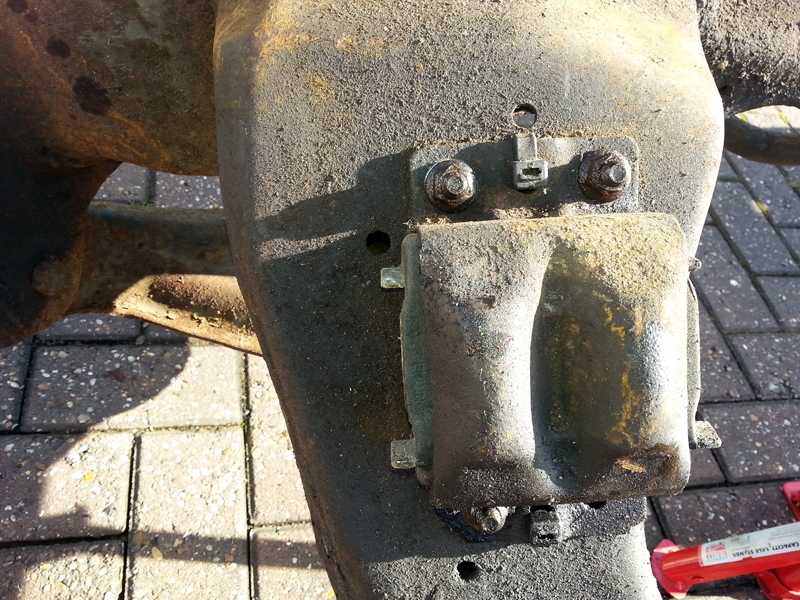
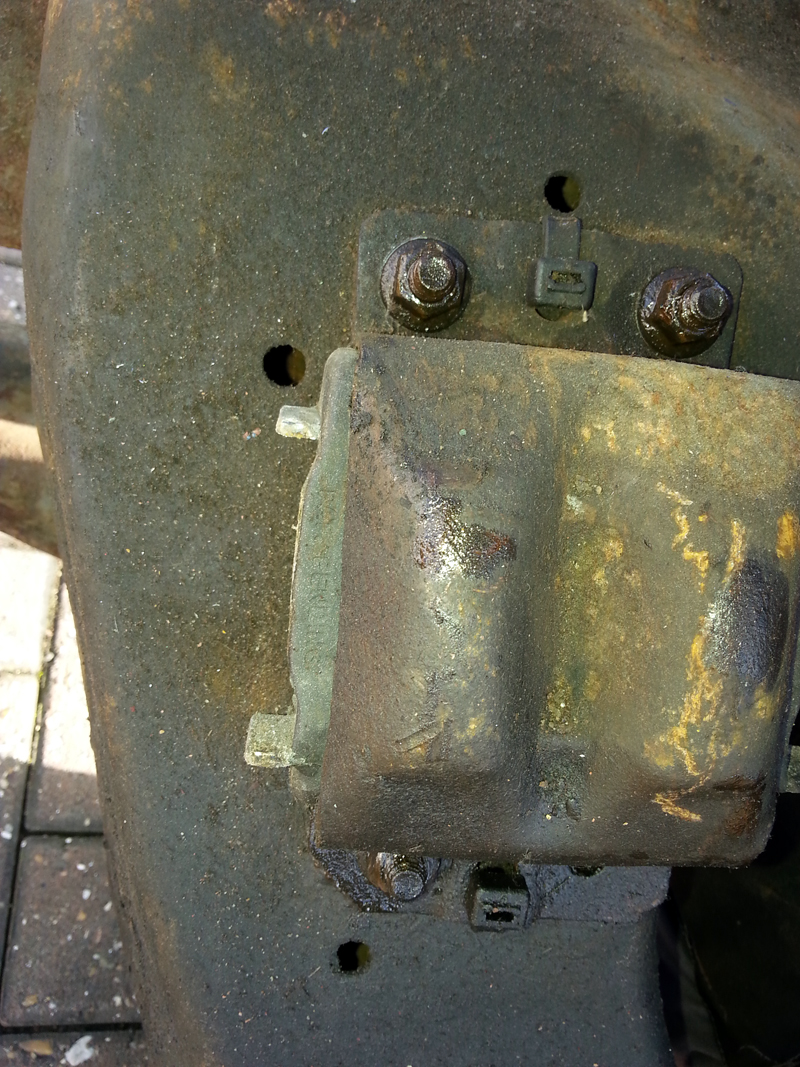
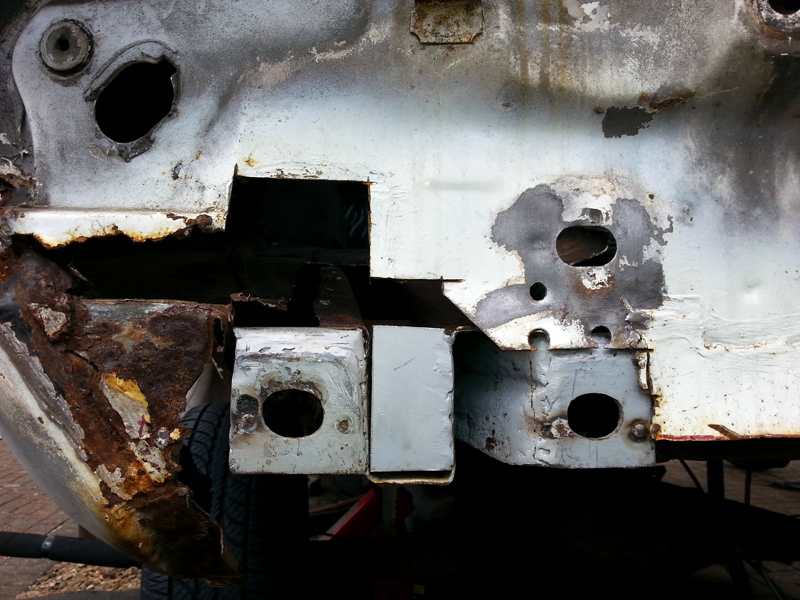
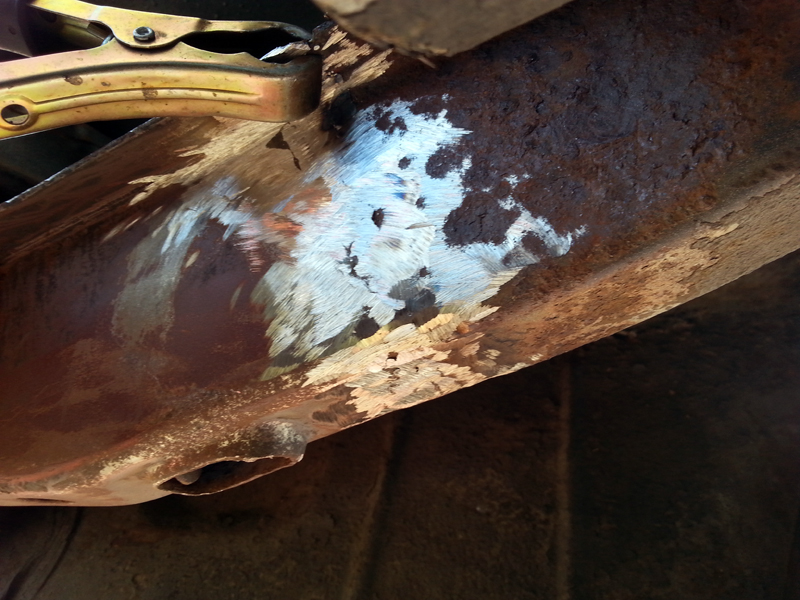
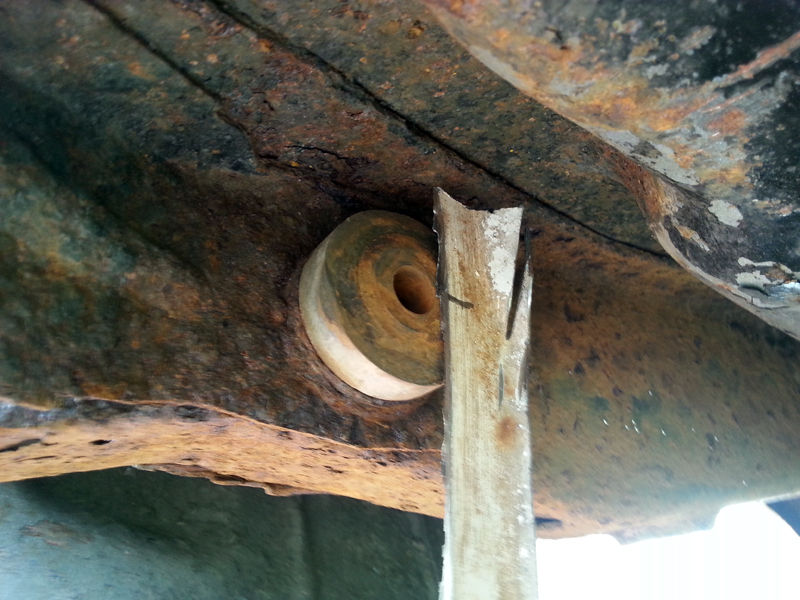
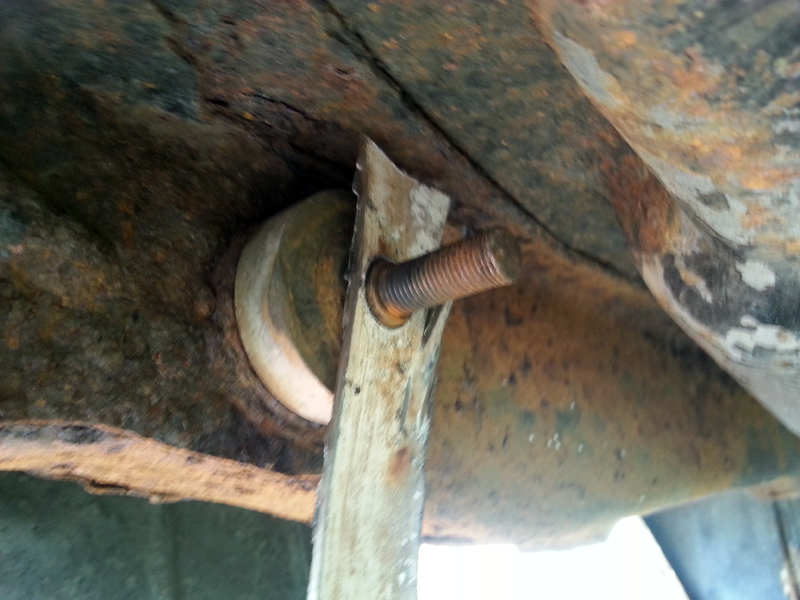
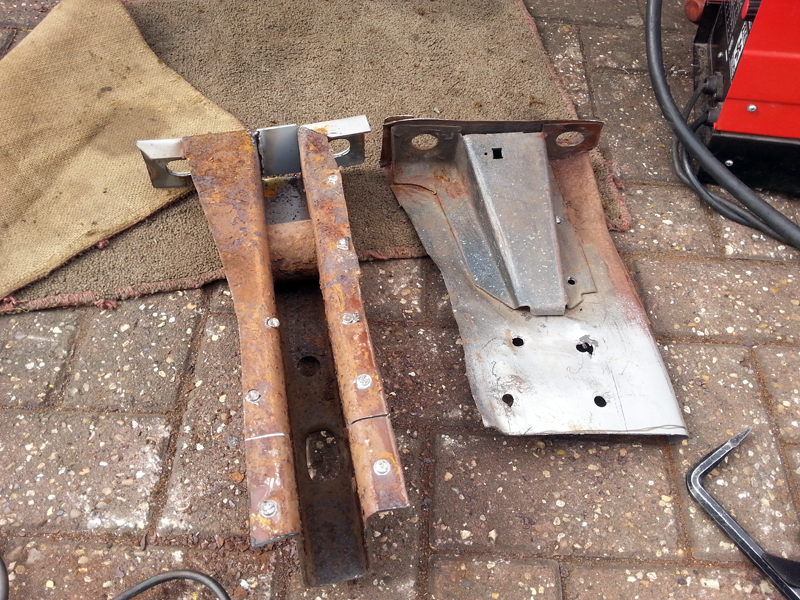
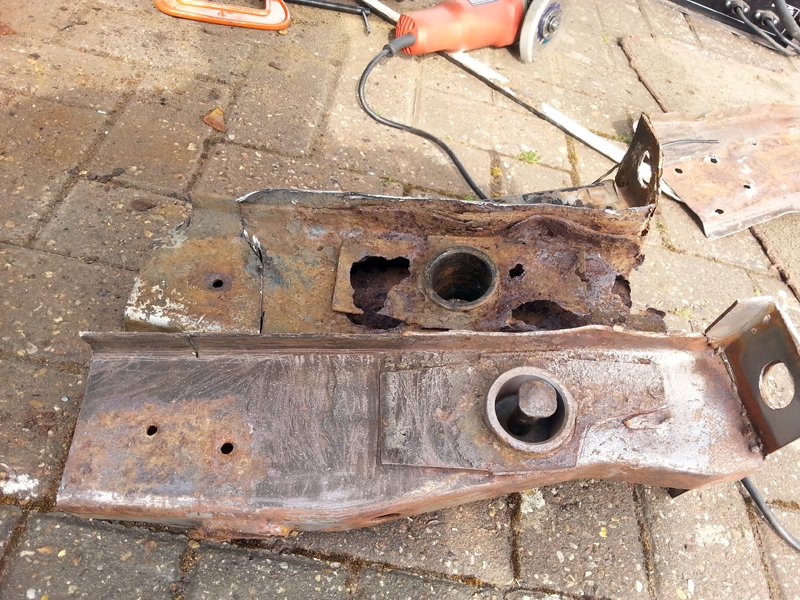
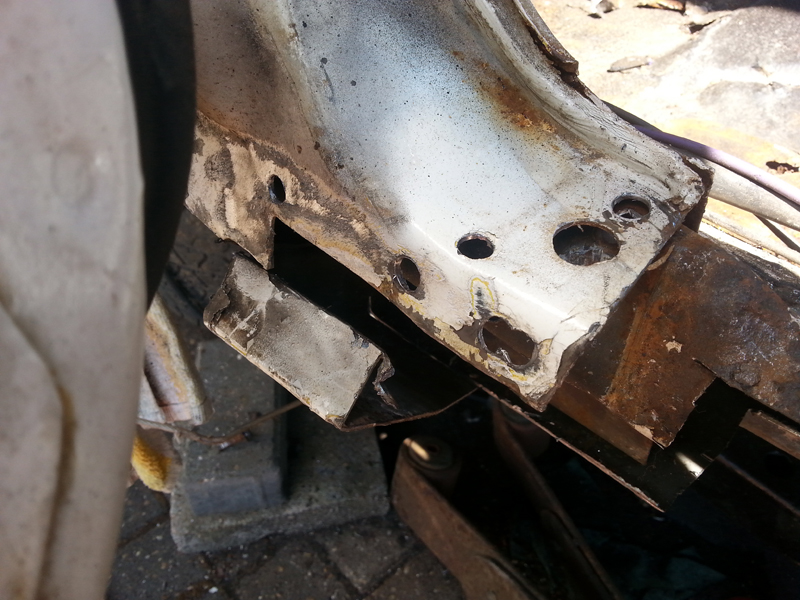
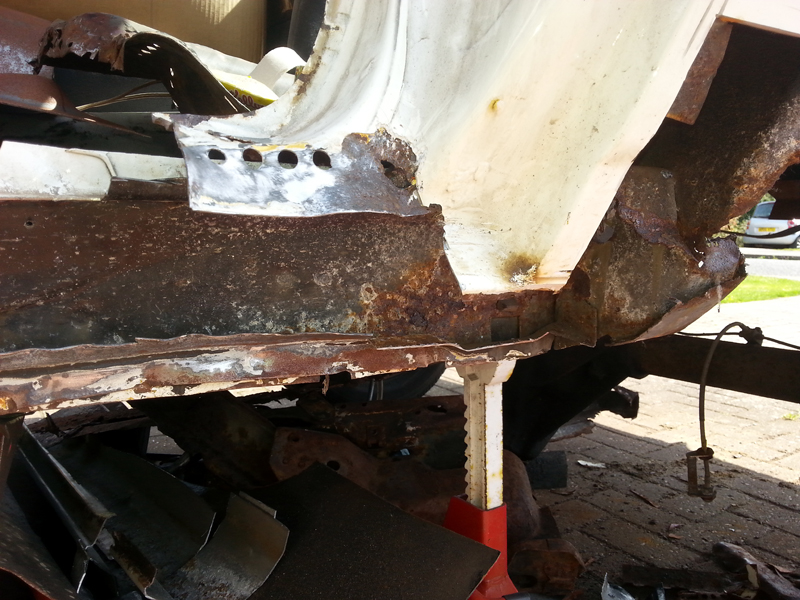
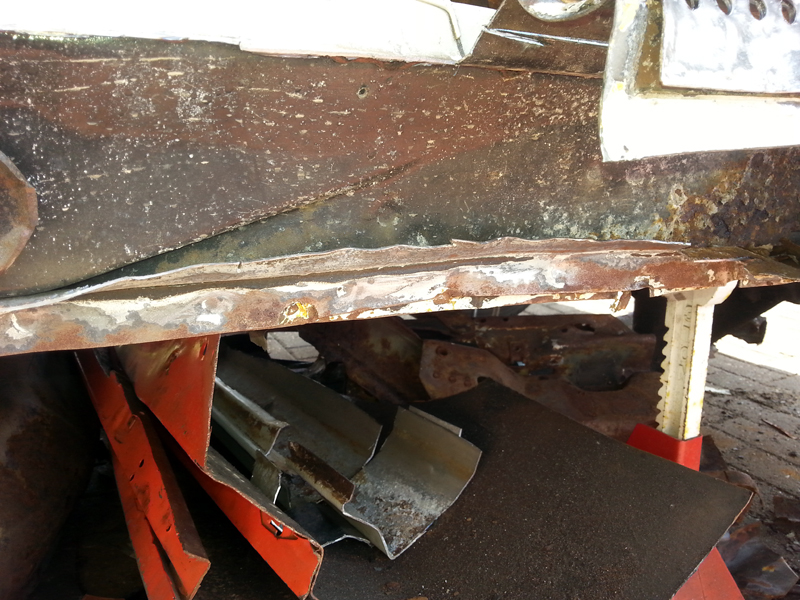
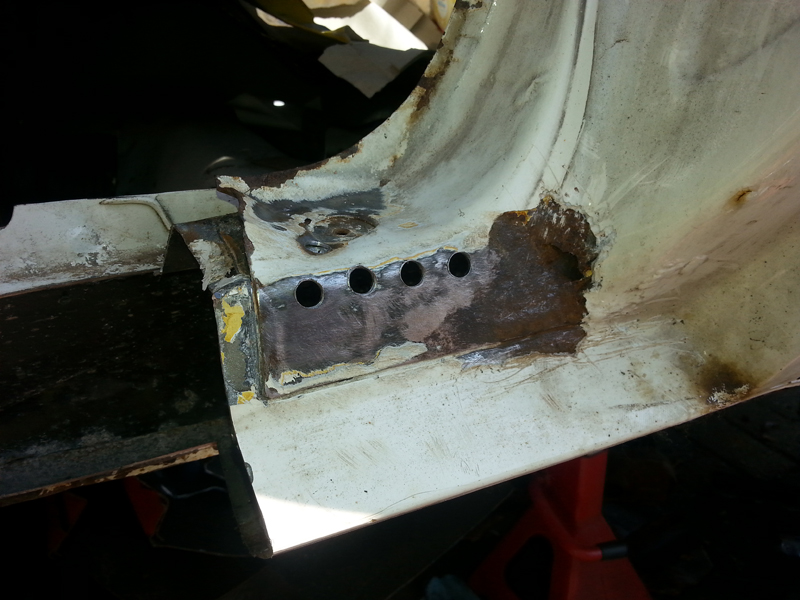
First thing was to remove the engine mounts, as I'll be needing those to refit to the new frame.  A couple of quick reference shots to make sure I use the right mounting holes and these were removed - a lot easier with the lower A-arms out.


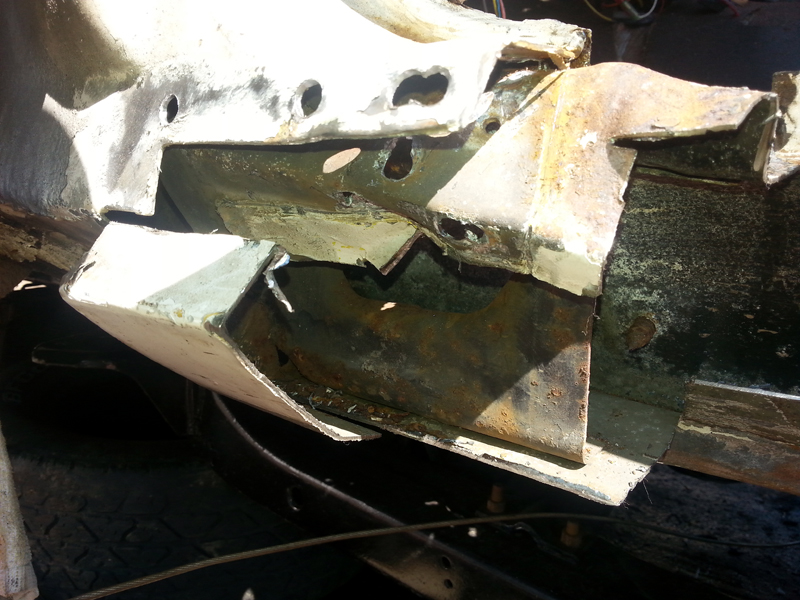
The trans cross-member was also removed, and these will all be cleaned and painted before being re-fitted.

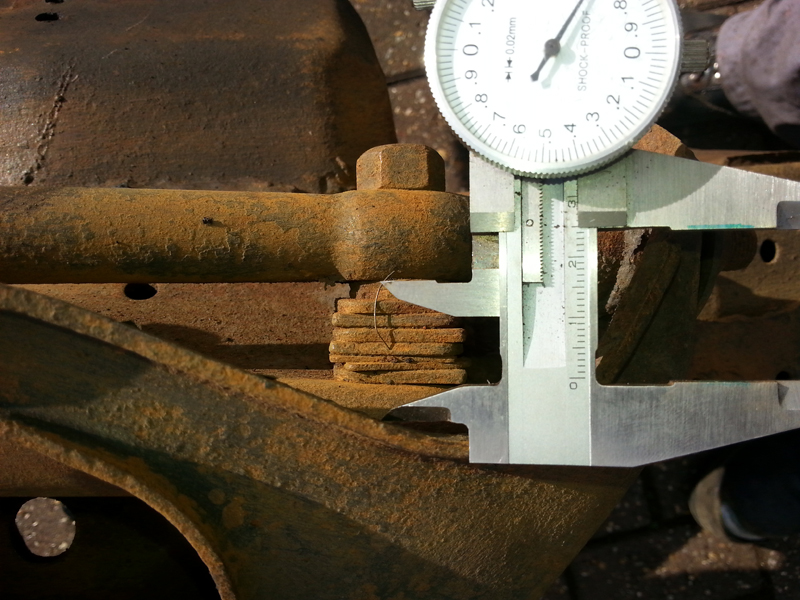
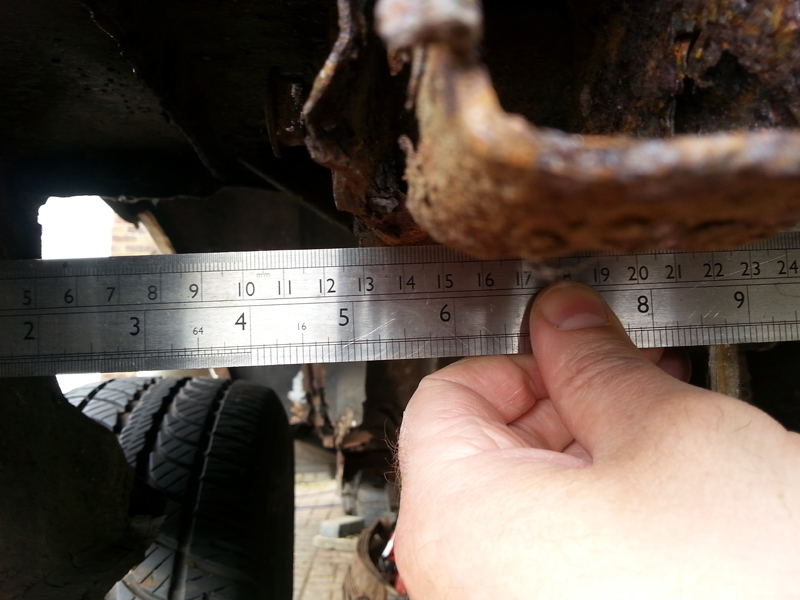
Not sure whether to keep hold of the suspension shims. I know I have some more, but cannot find them at the moment. Just in case, I measure all four packs, so I have something to aim for later.


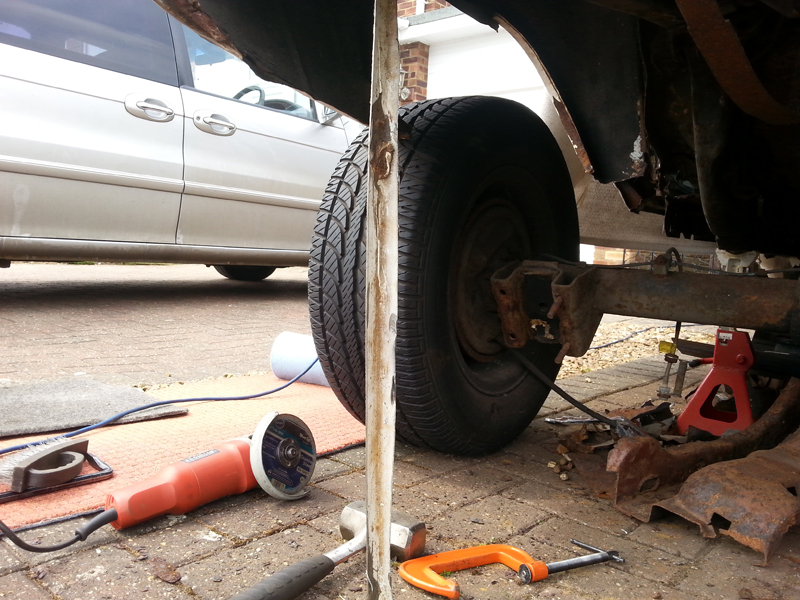
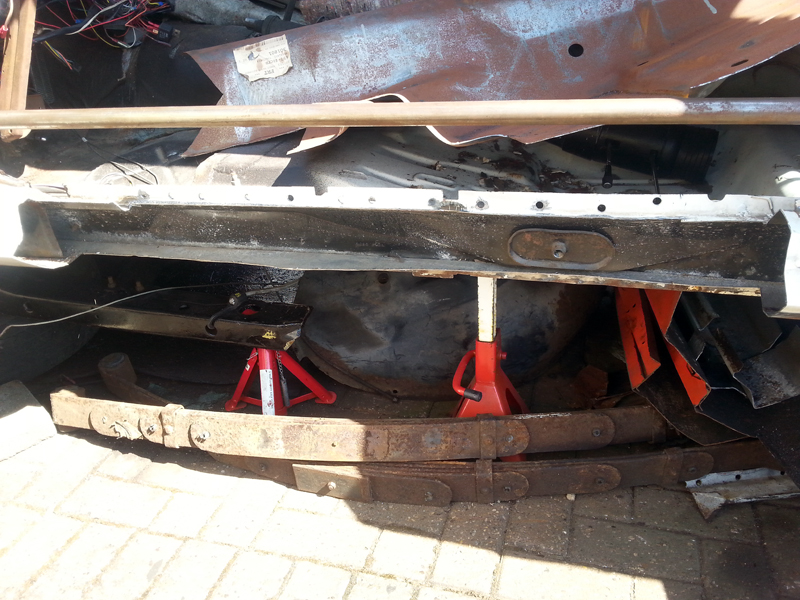
I gave it a quick rub down with a wire brush, then started to re-fit the old suspension which I won't be needing any more.  It all went together really easily. The hardest part was moving afterwards, as it must have more than doubled in weight.  Thankfully I was able to slide it under the rear of the car and just had enough time left to tidy up for the day.

Next jobs will be to extract the new frame from the bottom of the pile in the garage and get it under the car for a test fit.   Cross member and engine mounts will need cleaning and painting before it can go together properly, but a successful trial fit will mean it's safe to get rid of the old frame.

73
General Banter / Re: Getting a BIG box from Summit (At some point)
« on: March 02, 2015, 12:17:01 pm »
http://www.stsimports.co.uk/containers.html

Takes a bit longer, but saves a lot on shipping costs.

74
General Banter / bedfordshire blimp ...
« on: February 12, 2015, 12:24:02 pm »
"The longest aircraft in the world"

The hanger still dwarfs it.

New blimp 91m Long x 34m High

R101 - 236m long x 43m high.

Must try harder

75
General Banter / driverless vehicles in mk
« on: February 12, 2015, 12:22:01 pm »

Pages: 1 2 [3] 4 5 ... 174