Managed to progress with some projects on the bus last week, but I have only just had a chance to upload the pictures and update this thread.
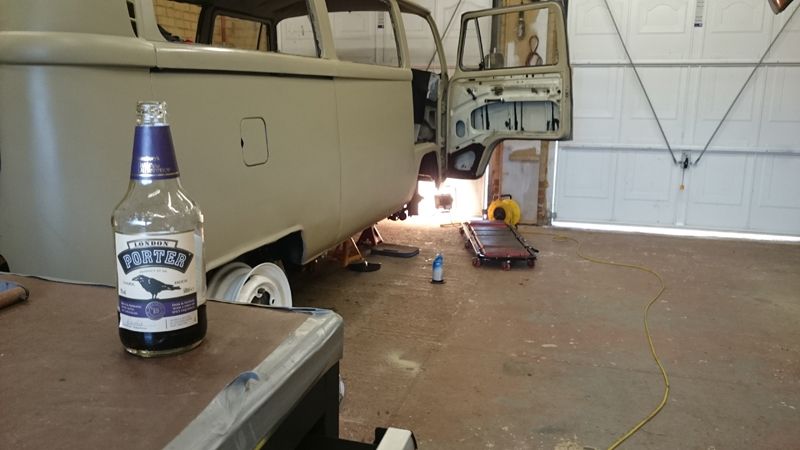
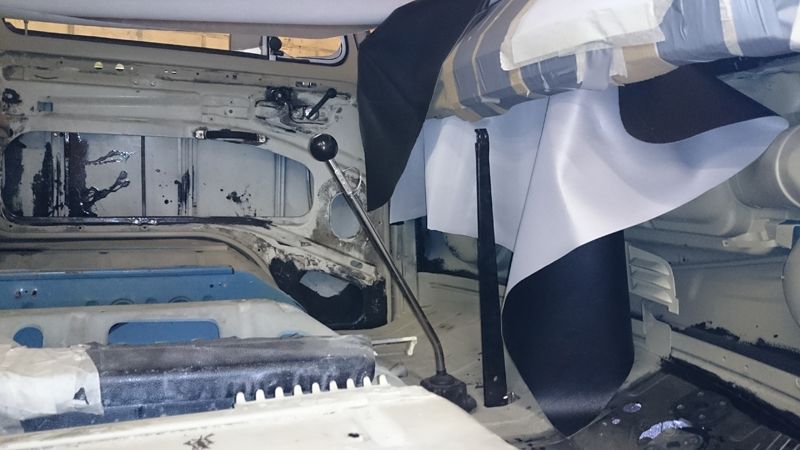
The first job was to mock-up the Handbrake mechanism. Whilst I was there, it seemed a shame to leave the gear-stick out of the fun, so I mocked that up as well!

The cables look like they will be too short by around 30mm, for some reason. I have checked a few times and they are routed correctly and they cannot be the wrong cables, Later Bay ones for example, as those cables are much shorter as they finish under the cab area and then attach to a load divider bar. These cables get all the way to almost where they should be, but I doubt they will reach the handbrake fixing points. The brake-drum shoes are not tight at all, loose in-fact!.
I think I will extend the threaded bar.

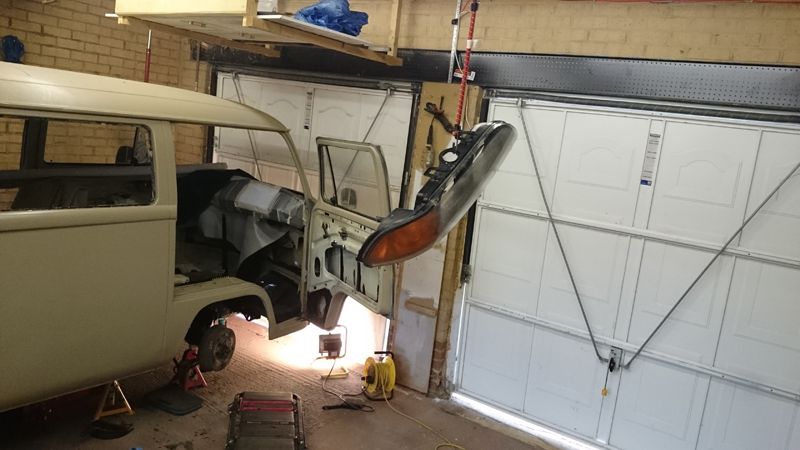
Whilst I was at it, testing the multi-tasking skills, we removed, dismantled, dried, cleaned, resealed and reinstalled a 5-Series headlight in an attempt to stop condensation.
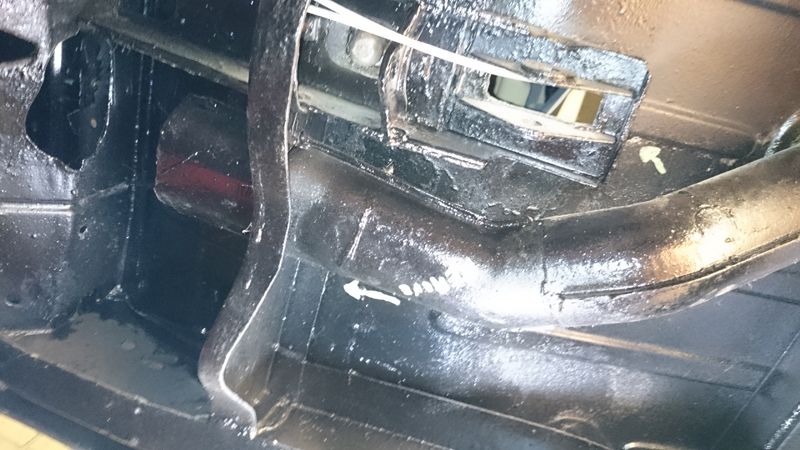
The next task was to grind off part of the old metal heater-tube ducting. There are a few reasons for this, firstly, it is old and metal, the metal attracts condensation and rust etc. Secondly, it opens up some chassis space near the front beam. Lastly, it is a slight / minuet weight saving. The plan is to run a separate Eberspacher-type heater further back on the chassis, then use plastic, flexible piping to move the heat and airflow forward, connecting onto the bottom of the Totem-pole in the cab, then distributed either on to the screen or back into the rest of the bus.
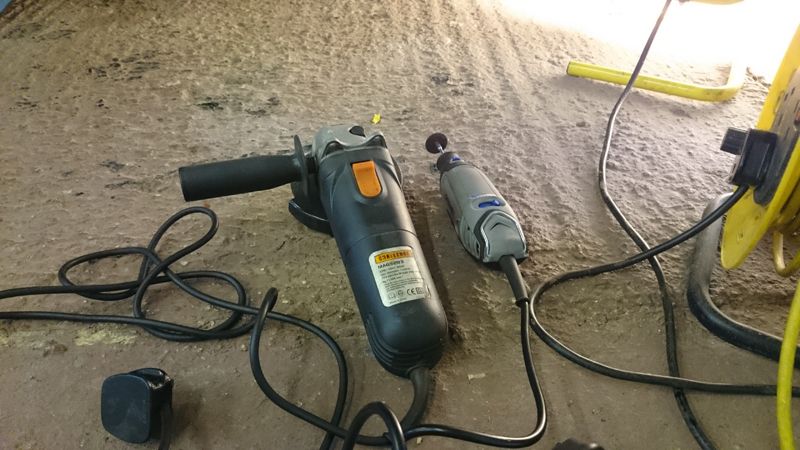
Tools ready.
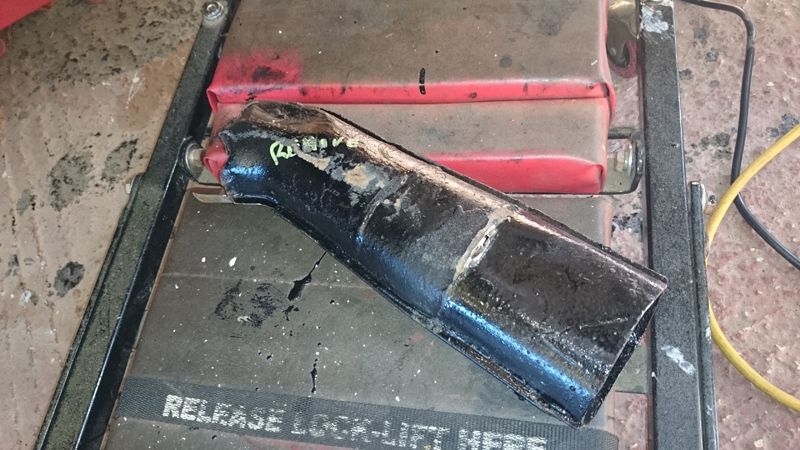
Complete.
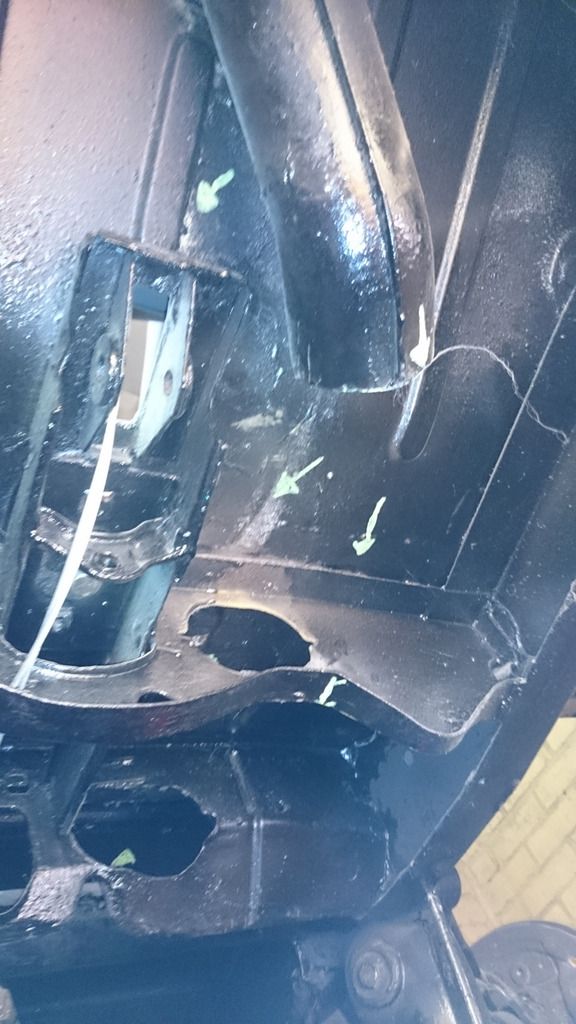
Space! Notice the lower half of the cab Totem-pole remains. This will get cleaned up and temporally blocked, ready for the new plastic tubing in the future.
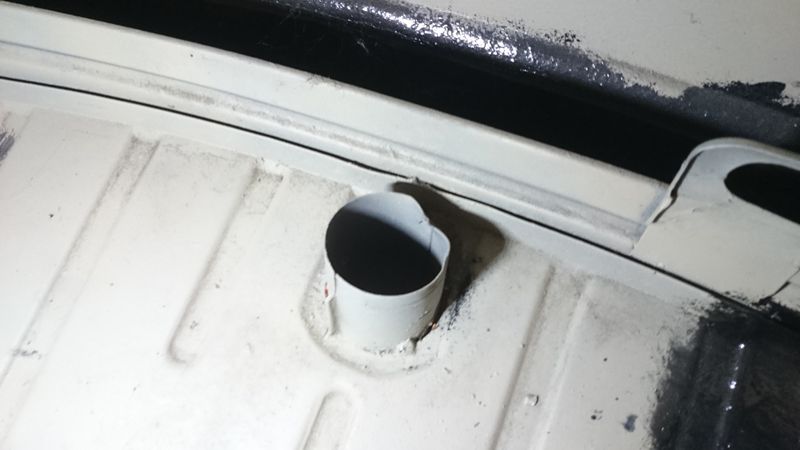
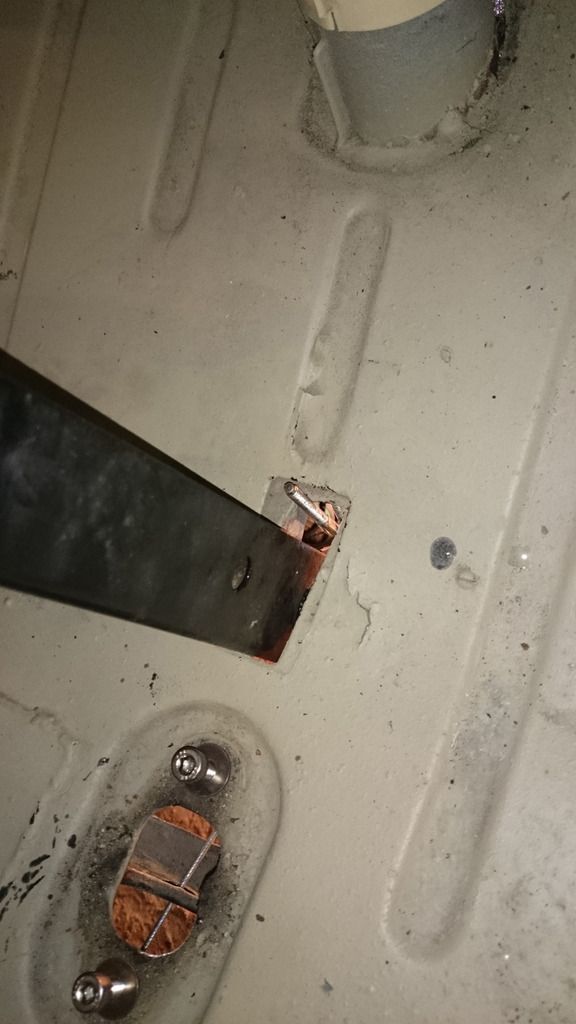
Talking of the Totem-pole, here is the lower fixing which was slightly bent at the back for some reason.
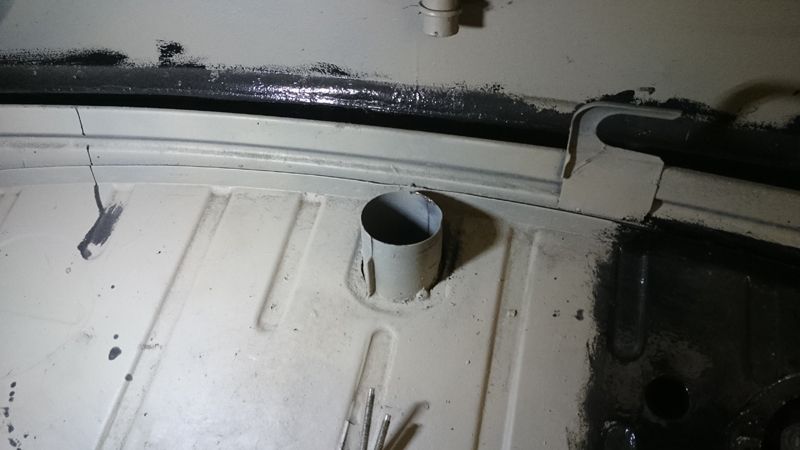
So some gentle tapping massaged it back into a circle shape.
Project Progress:[0%] Wiring Loom diagram.
(I really need to start finding some time to begin planning this).[0%] Wiring Loom component purchase.
(Waiting on above)[0%] Wiring Loom fabricate.
(Waiting on above)[0%] Paint rear drums.
[0%] Fit rear drums.
[0%] Plan and purchase complete Hydraulic braking system.
[0%] Fit Complete Hydraulic braking system.
[100% Complete] Fit Accelerator Cable.
[0%] Accelerator Peddle Components.
(Going to look at Buttys Bits for this as I have read good things about his conversion kit).[0%] Rear Windows Tints.
[0%] Rear Windows Install.
[5%] Revise Front Axle / Brake Drums / Track-Rods / Re Torque all.
[10%] Handbrake Mechanism.
[5%] Chassis Tidy
(Annoying one, which delays progress. There are some areas of the chassis (more than I was expecting) which could do with tidying / sealing. Some of the joins are not as close / tidy as they should be, which I think will become a water trap.

